Méliès process
Before shooting this film I made many tests about object tracking using a single camera as in the following videos:
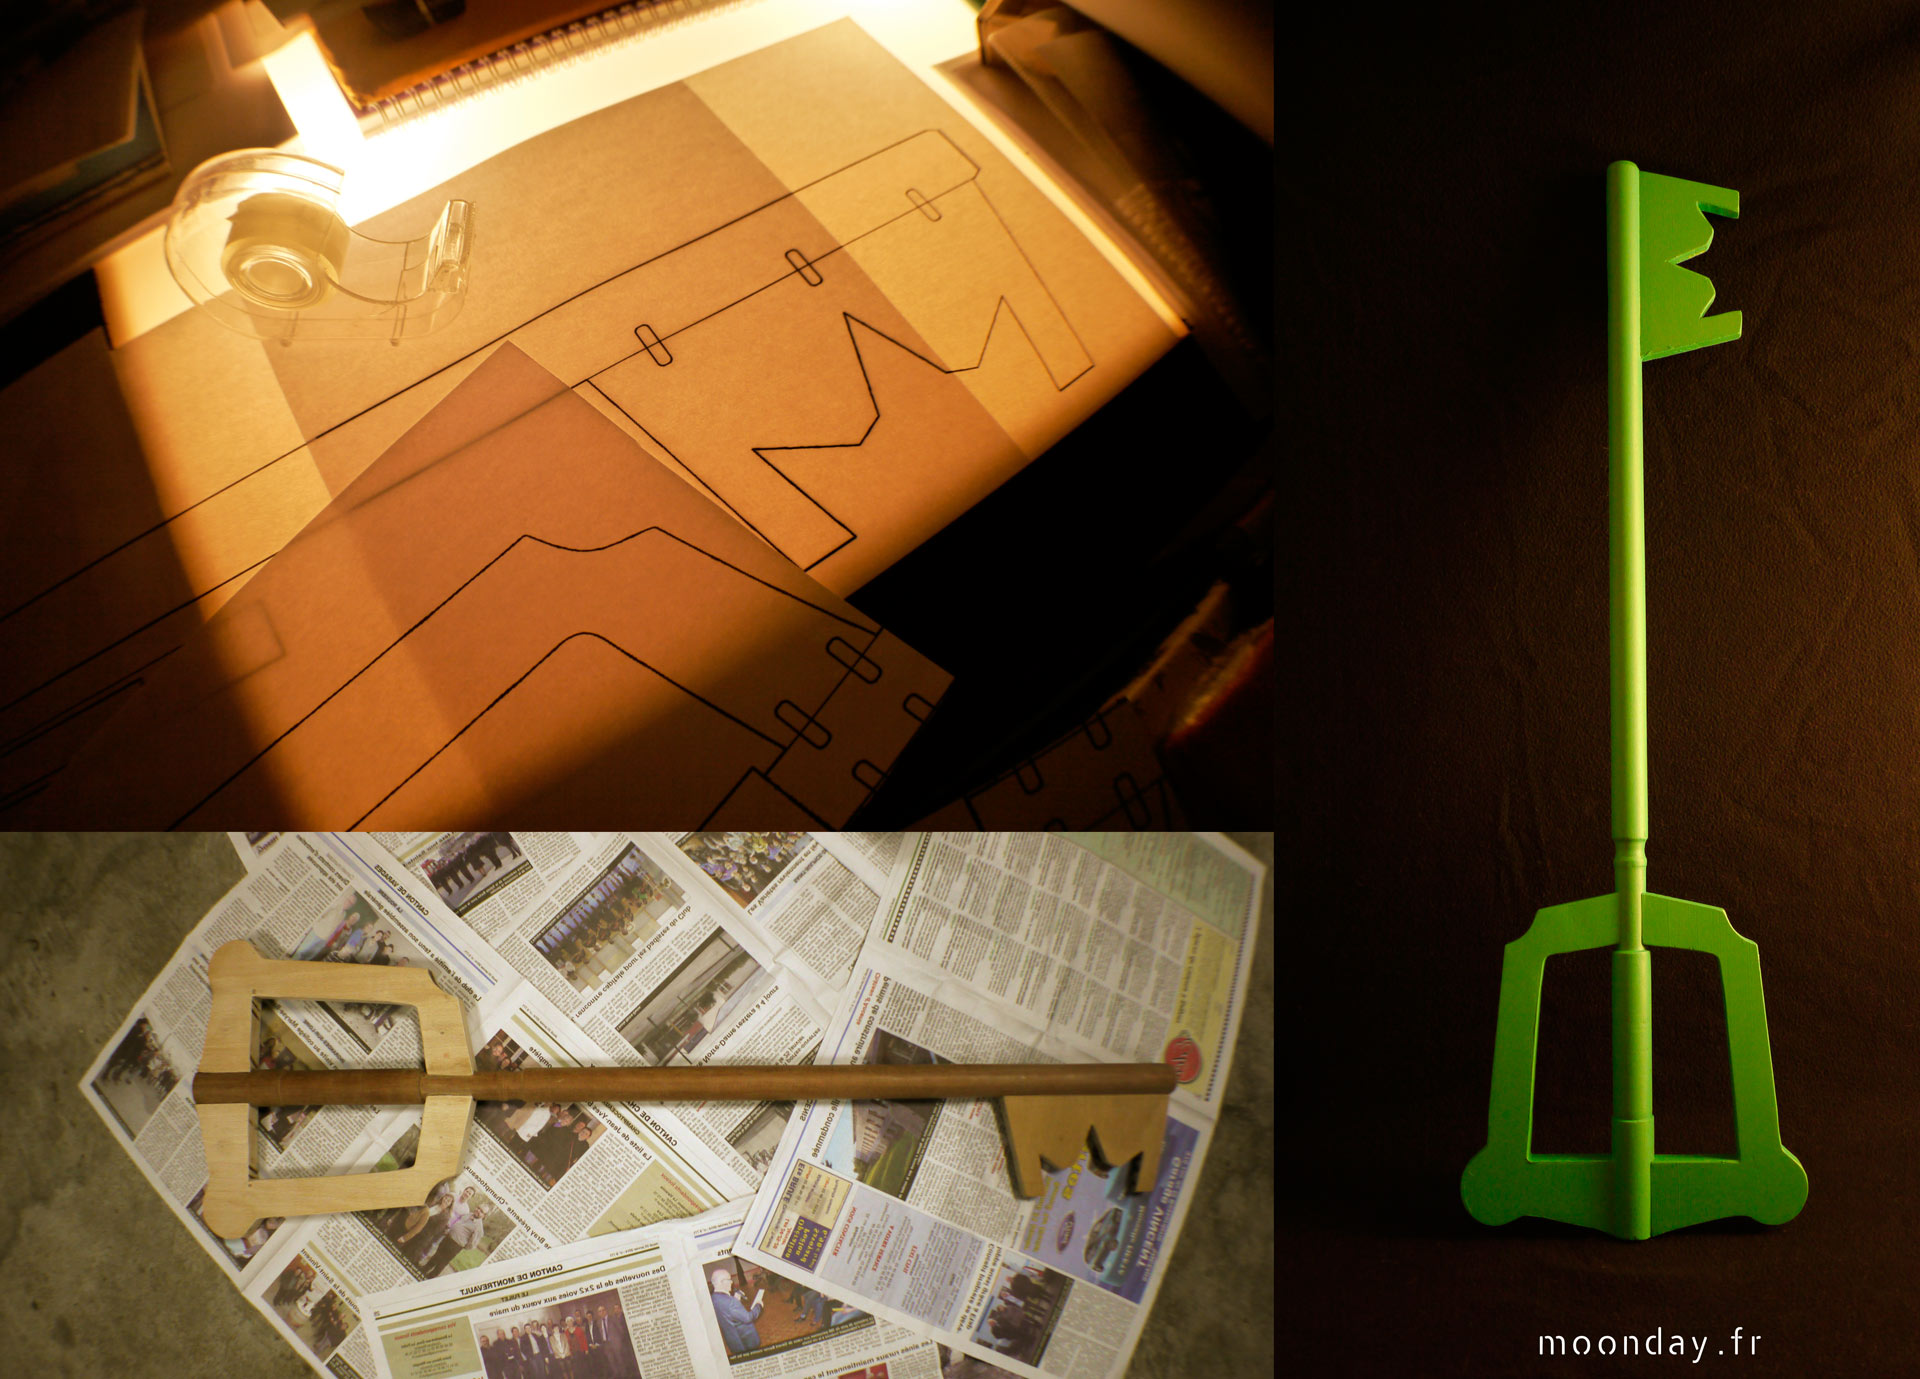
After understanding the basic workflow of object tracking I moved on the props building stage with the help of a friend, based on the CG Keyblade I modelled.
In the end I shot the facial mocap in a separate session. Here is the witness camera that also recorded the audio.
To get enough light on my face I turned on my 2 computer monitors and added a LED tube on top of them to get the most diffuse light possible.

On first tests, the wooden Keyblade only had black dots painted on, I had troubles in the tracking process so I also painted white dots and then everything worked fine.
I also wanted to shoot the entire process in 1 shot, Keyblade+head tracking and facial motion capture, both at the same time. Unfortunately my compositing skills aren’t good enough to remove a heavy facial mocap rig from footage like this. I’d like to make some changes in the design of this helmet in the future.
The film was shot with my old Hacked GH1 and a 20mm F.1.7 lens. I did shot a 360° HDR image used for lighting and reflection in the render process, again with the GH1, Peleng 8mm lens and Nodal Ninja 3 pano head.

Once all the footage was shot I could start the tracking process, nothing complicated here as everything was well planned in the shooting process.
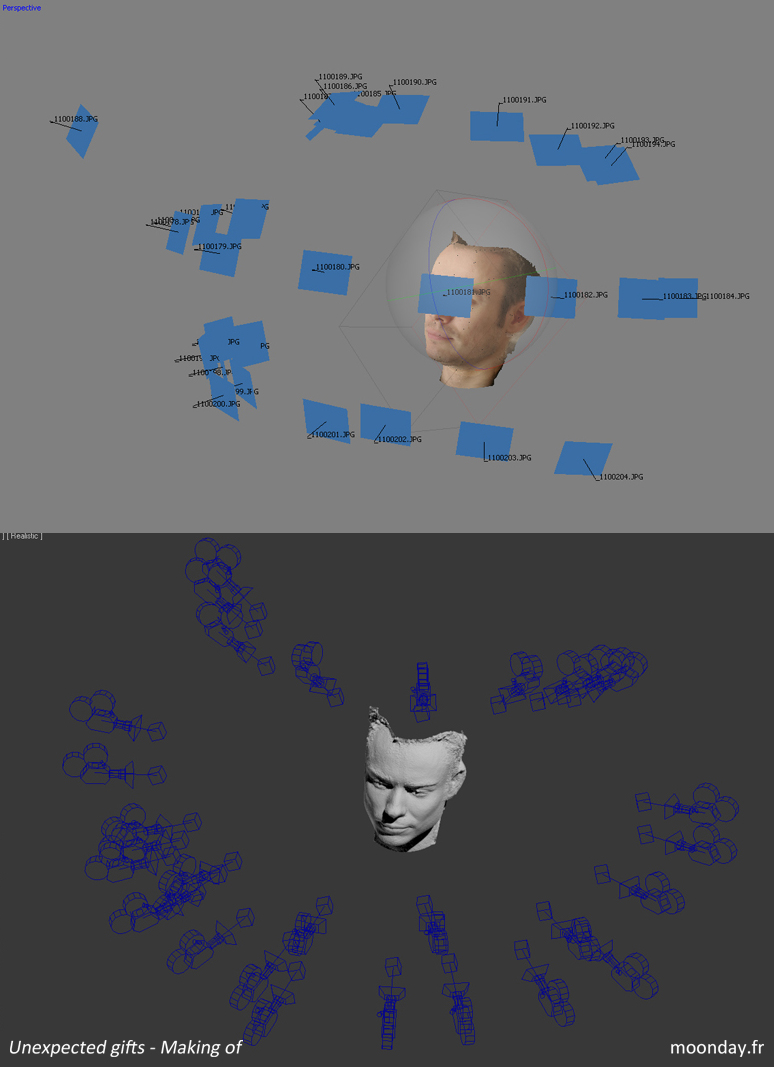
The Moon head is based on the scan of my own face made for an early project, it was achieved with Agisoft Photoscan, same for the teeth for which I had help from my dentist. I painted the replica she created with a random pattern to get more details in the scan as I read in the CG feedback forum, that method works really well, I never had that much detail in a small scale object like this before.

A last word about this first shot, the hardest thing to manage was the chain at the end of the Keyblade. I spent days on the simulation process, I tried different world scale, settings etc. It always ended up exploding the chain at some point in the shot. I even thought of using a cloth simulation with a skinwrap modifier but it looked horrible.
The solution: I used hinge constraints between chain links, that explains why it looks weird when you focus on the chain animation.
The Fake world
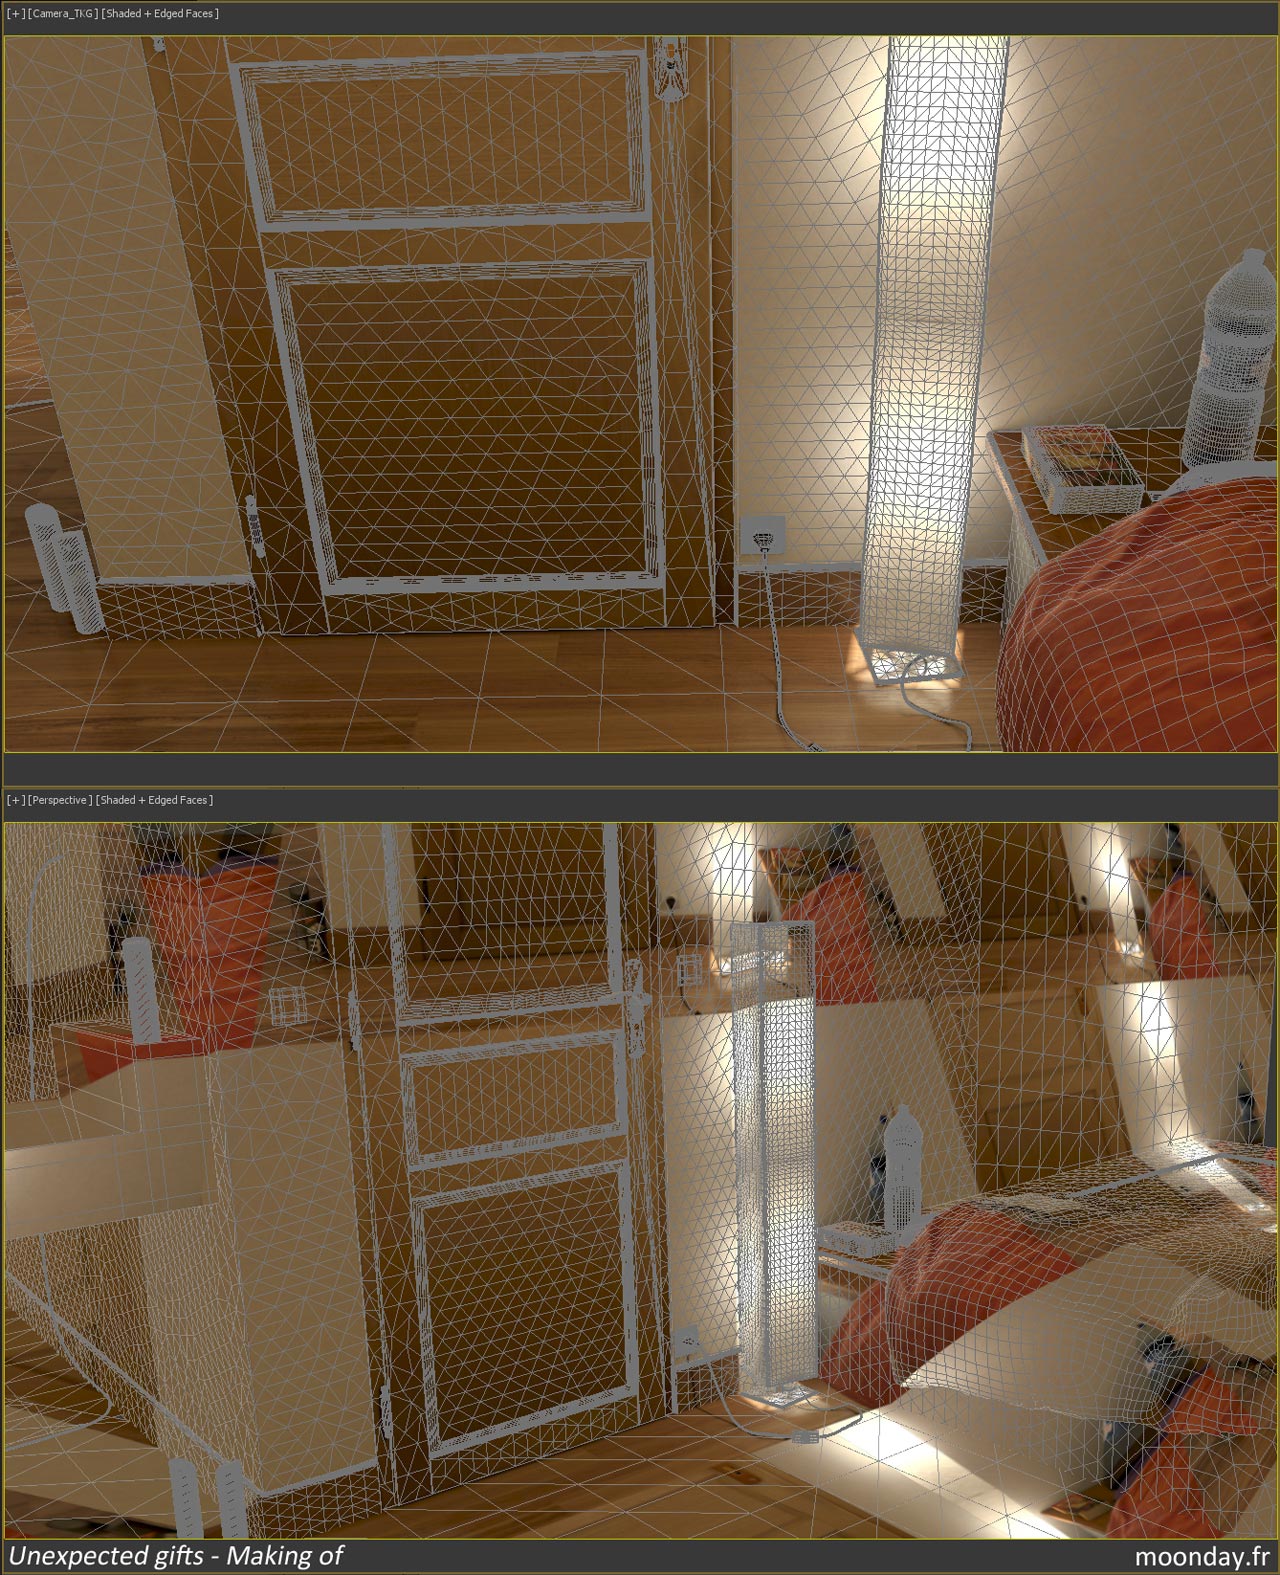
The following images show the shaded and wire view of the 2nd and 3rd shot of the short that are fully CGI


It was fun to create “every day” models again. Most of the elements are based on real objects populating my desk and room, the Revoltech Rei Ayanami was useful.
For the crumpled paper ball , I invite you to follow that nice tutorial from Matt Chandler!
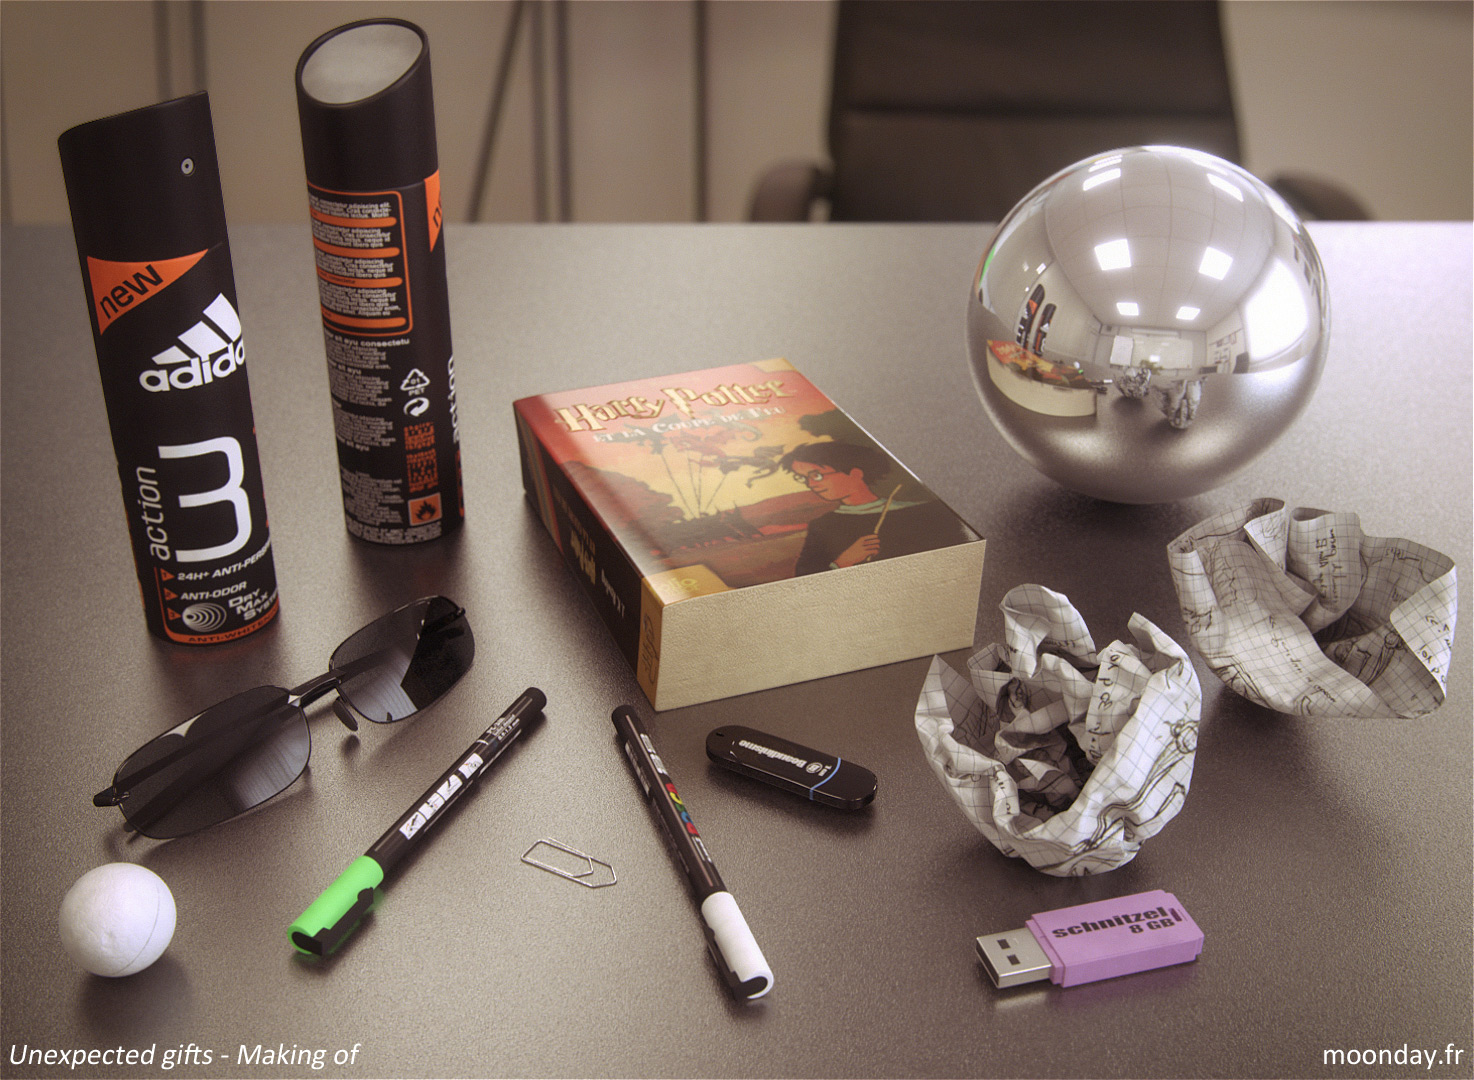
However I noticed some interesting things when working on these 2 full CG shots with Mental Ray
1. Rendering procedural maps takes more time than rendering bitmaps. For the table model, I used a cellular material for diffuse, glossy and bump slots. I thought it was totally normal to wait 20 minutes for my image to be rendered (Hey, we’re on Mental ray ;)), then after a mistake I discovered it was not normal at all, so I baked the cellular maps to bitmaps and the render time dropped under 10 minutes/frame, which is still insane. It must be something pro peoples might know and I, noob, just discovered.
2.Using Render Elements takes a hell of a long time in Mental Ray. No comments.
3. Use Quicksilver renderer. It was the fastest way to render my Zdepth pass, only seconds to compute full HD images. I also used it to render the wire and shaded turntables of this making of. (Quicksilver render has other interesting uses I’ll talk about soon on my blog.)
4. Motion blur Tips: We all know rendering motion blur takes years, even with unified samples. Exporting a proper velocity pass to be used in post with plugins and without artefacts is impossible, of course Spotmask plugin is here, but as explained earlier it takes a hell of a long time to render passes in MR.
My solution: once I comped all my base elements together, I rendered them as an image sequence and projected it on the original geometry of my 3D scene using camera mapping, the material was auto illuminated, I deactivated all the lights and exposure controls then I turned on motion blur. I only used that method for the 3rd shot and it worked great, at 10 seconds/frames I got real 3D motion blur. That way if you feel there is a problem with the motion blur settings, you can adjust them, launch the render again and only wait a few seconds to get your motion blurred render. I used the same process for the Zdepth pass.
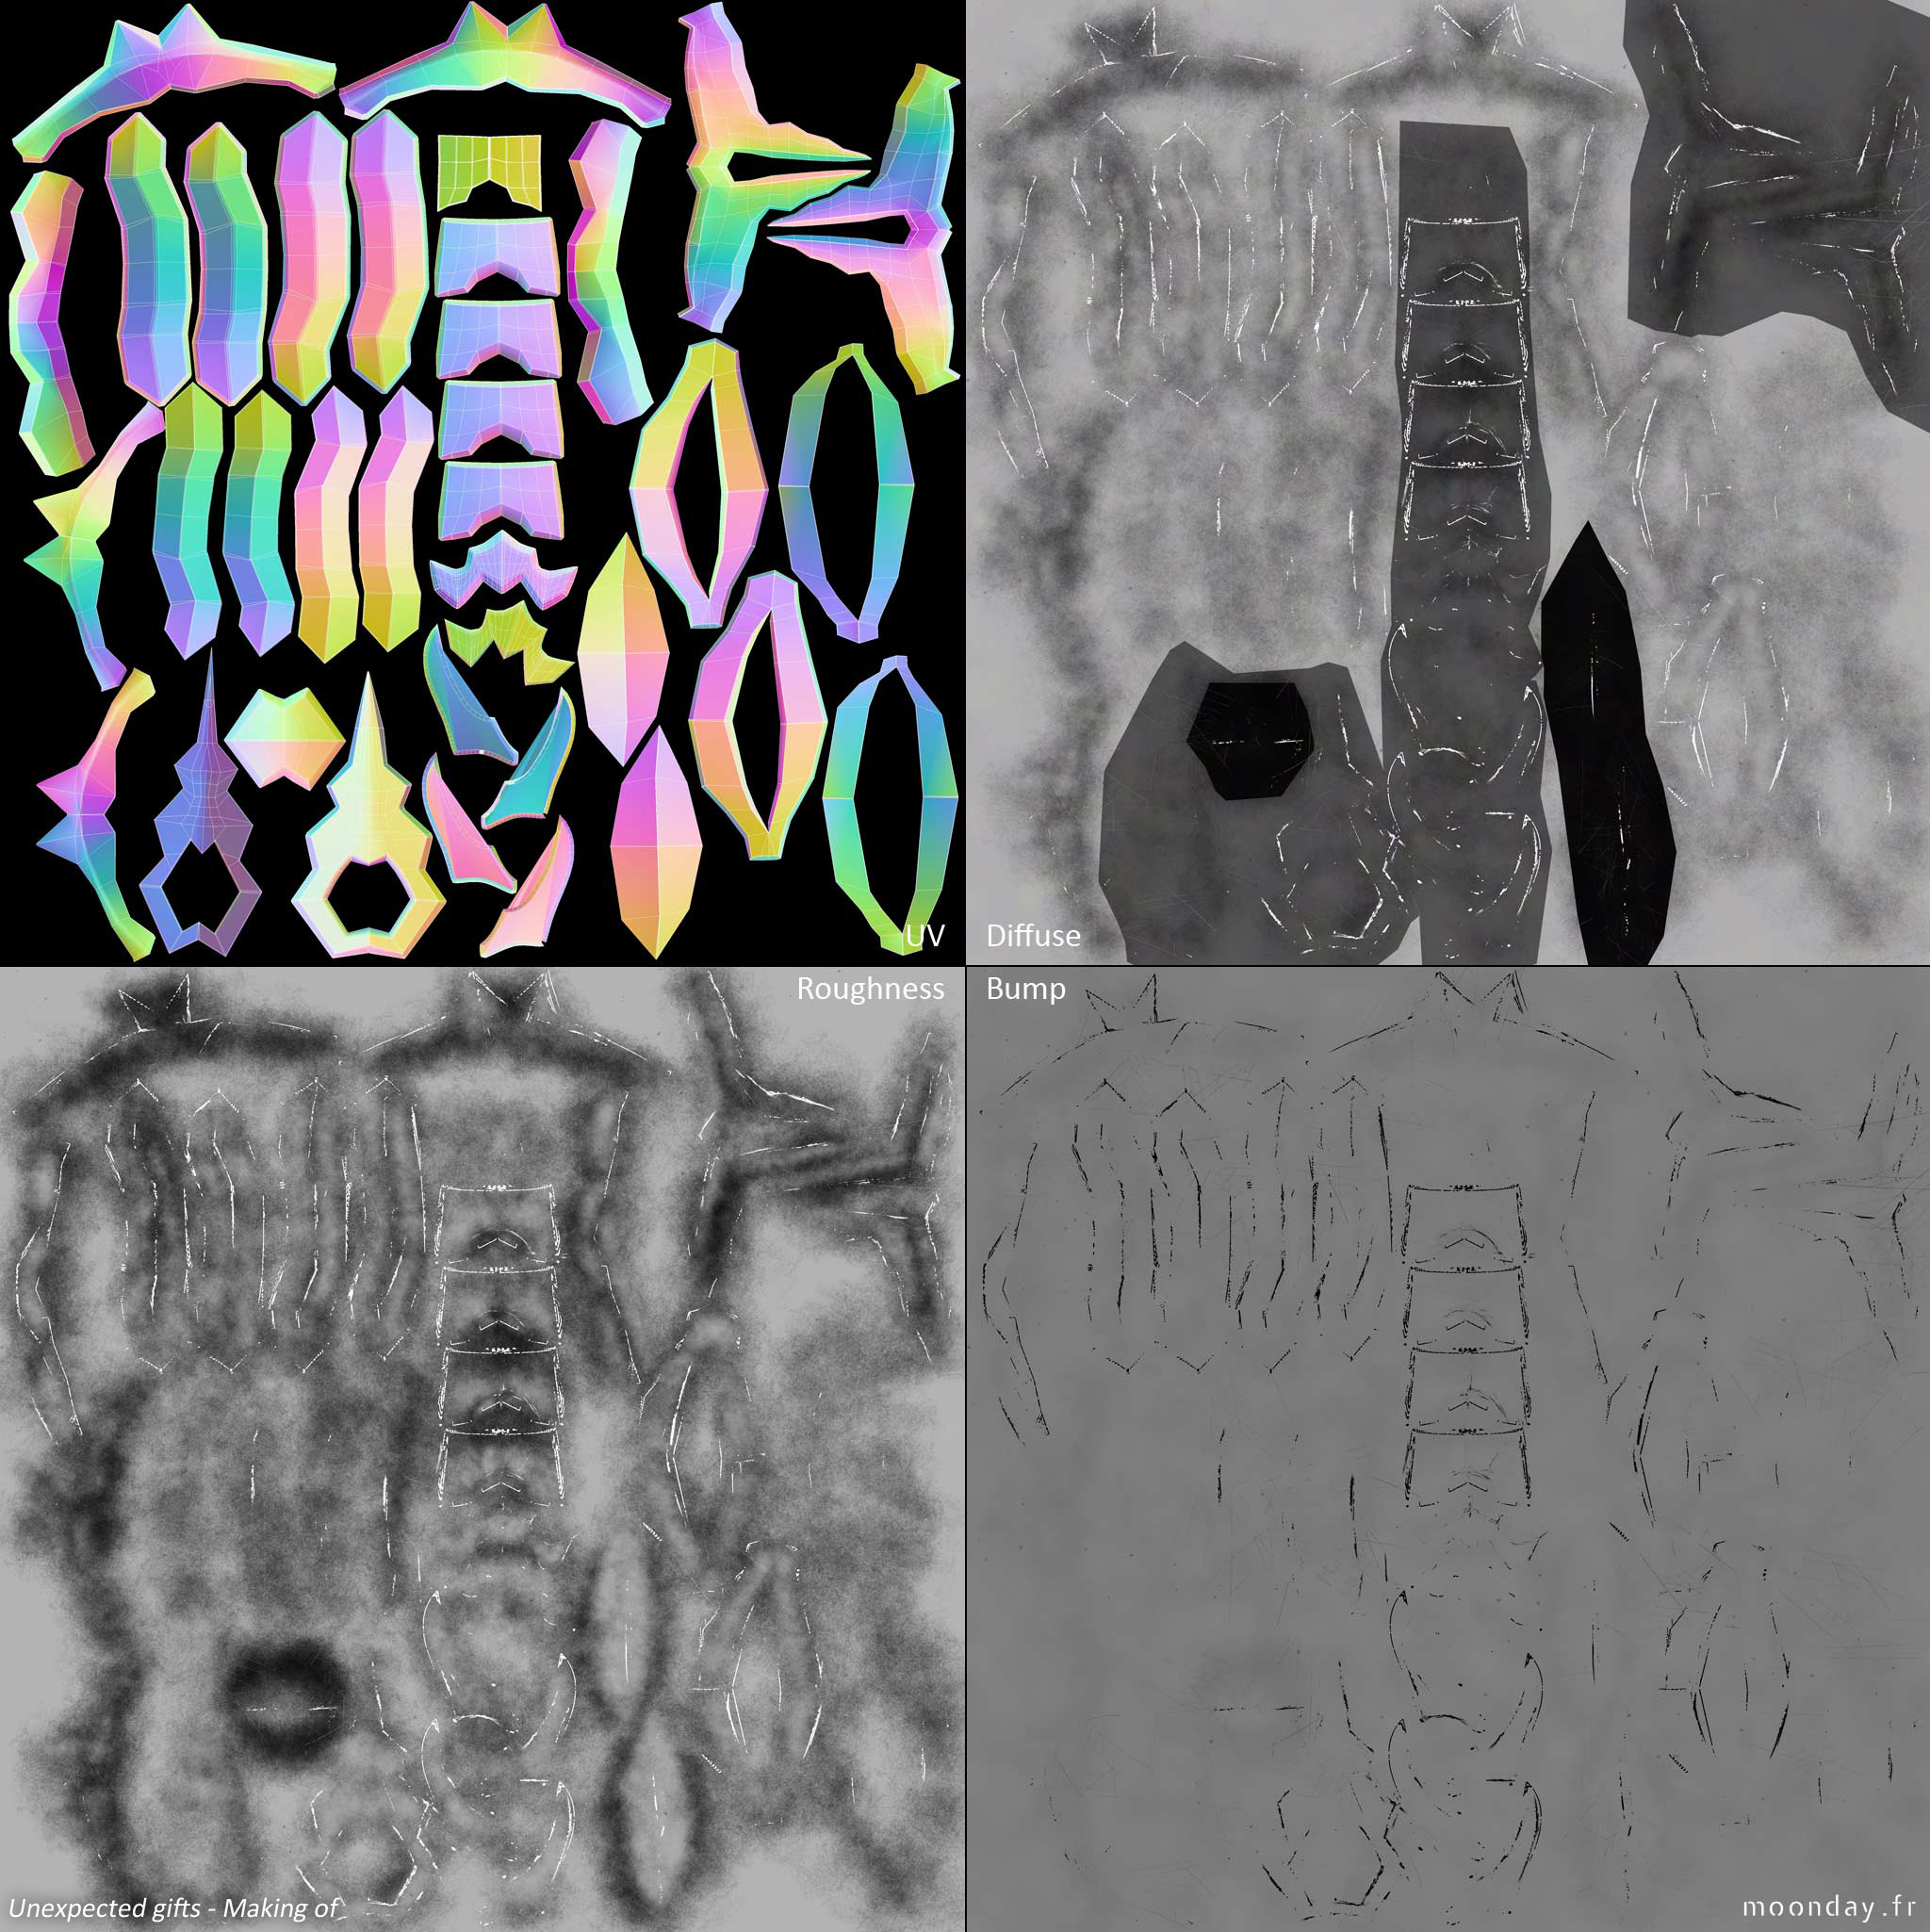
A brief note on texturing: I changed my wokflow for a faster one. Until now, when I was working on a complex model with multiple parts, I had separate texture files for each part (no wonder why it took so much time to create textures for my old projects). For Terra’s Armor and Keyblade I merged objects together, armor elements, suit elements etc. I extracted UV information, then detached the elements again. That way I get constant look from one part of the armour to another. I feel noob for using this method up to now, I thought it was used only for single low poly mesh objects for video games.
The motion for each camera used a different method. In the 2nd shot it’s a keyframed camera with noise controllers in position and rotation. In the 3rd shot I shot with my GH1 a piece of my room full of contrasted elements to get a realistic hand-held motion, I adjusted the camera angle here and there to match Terra’s animation.

All this Making Of animations and some more compiled in the following video
That project is not related with Square-Enix company.
It's a pure fictional and parody project.
All the CG elements seen in the film and in this making of have been created by myself.
- Nicolas Brunet / July 2014 -
(proof reading: Nick Tregenza)