Concept

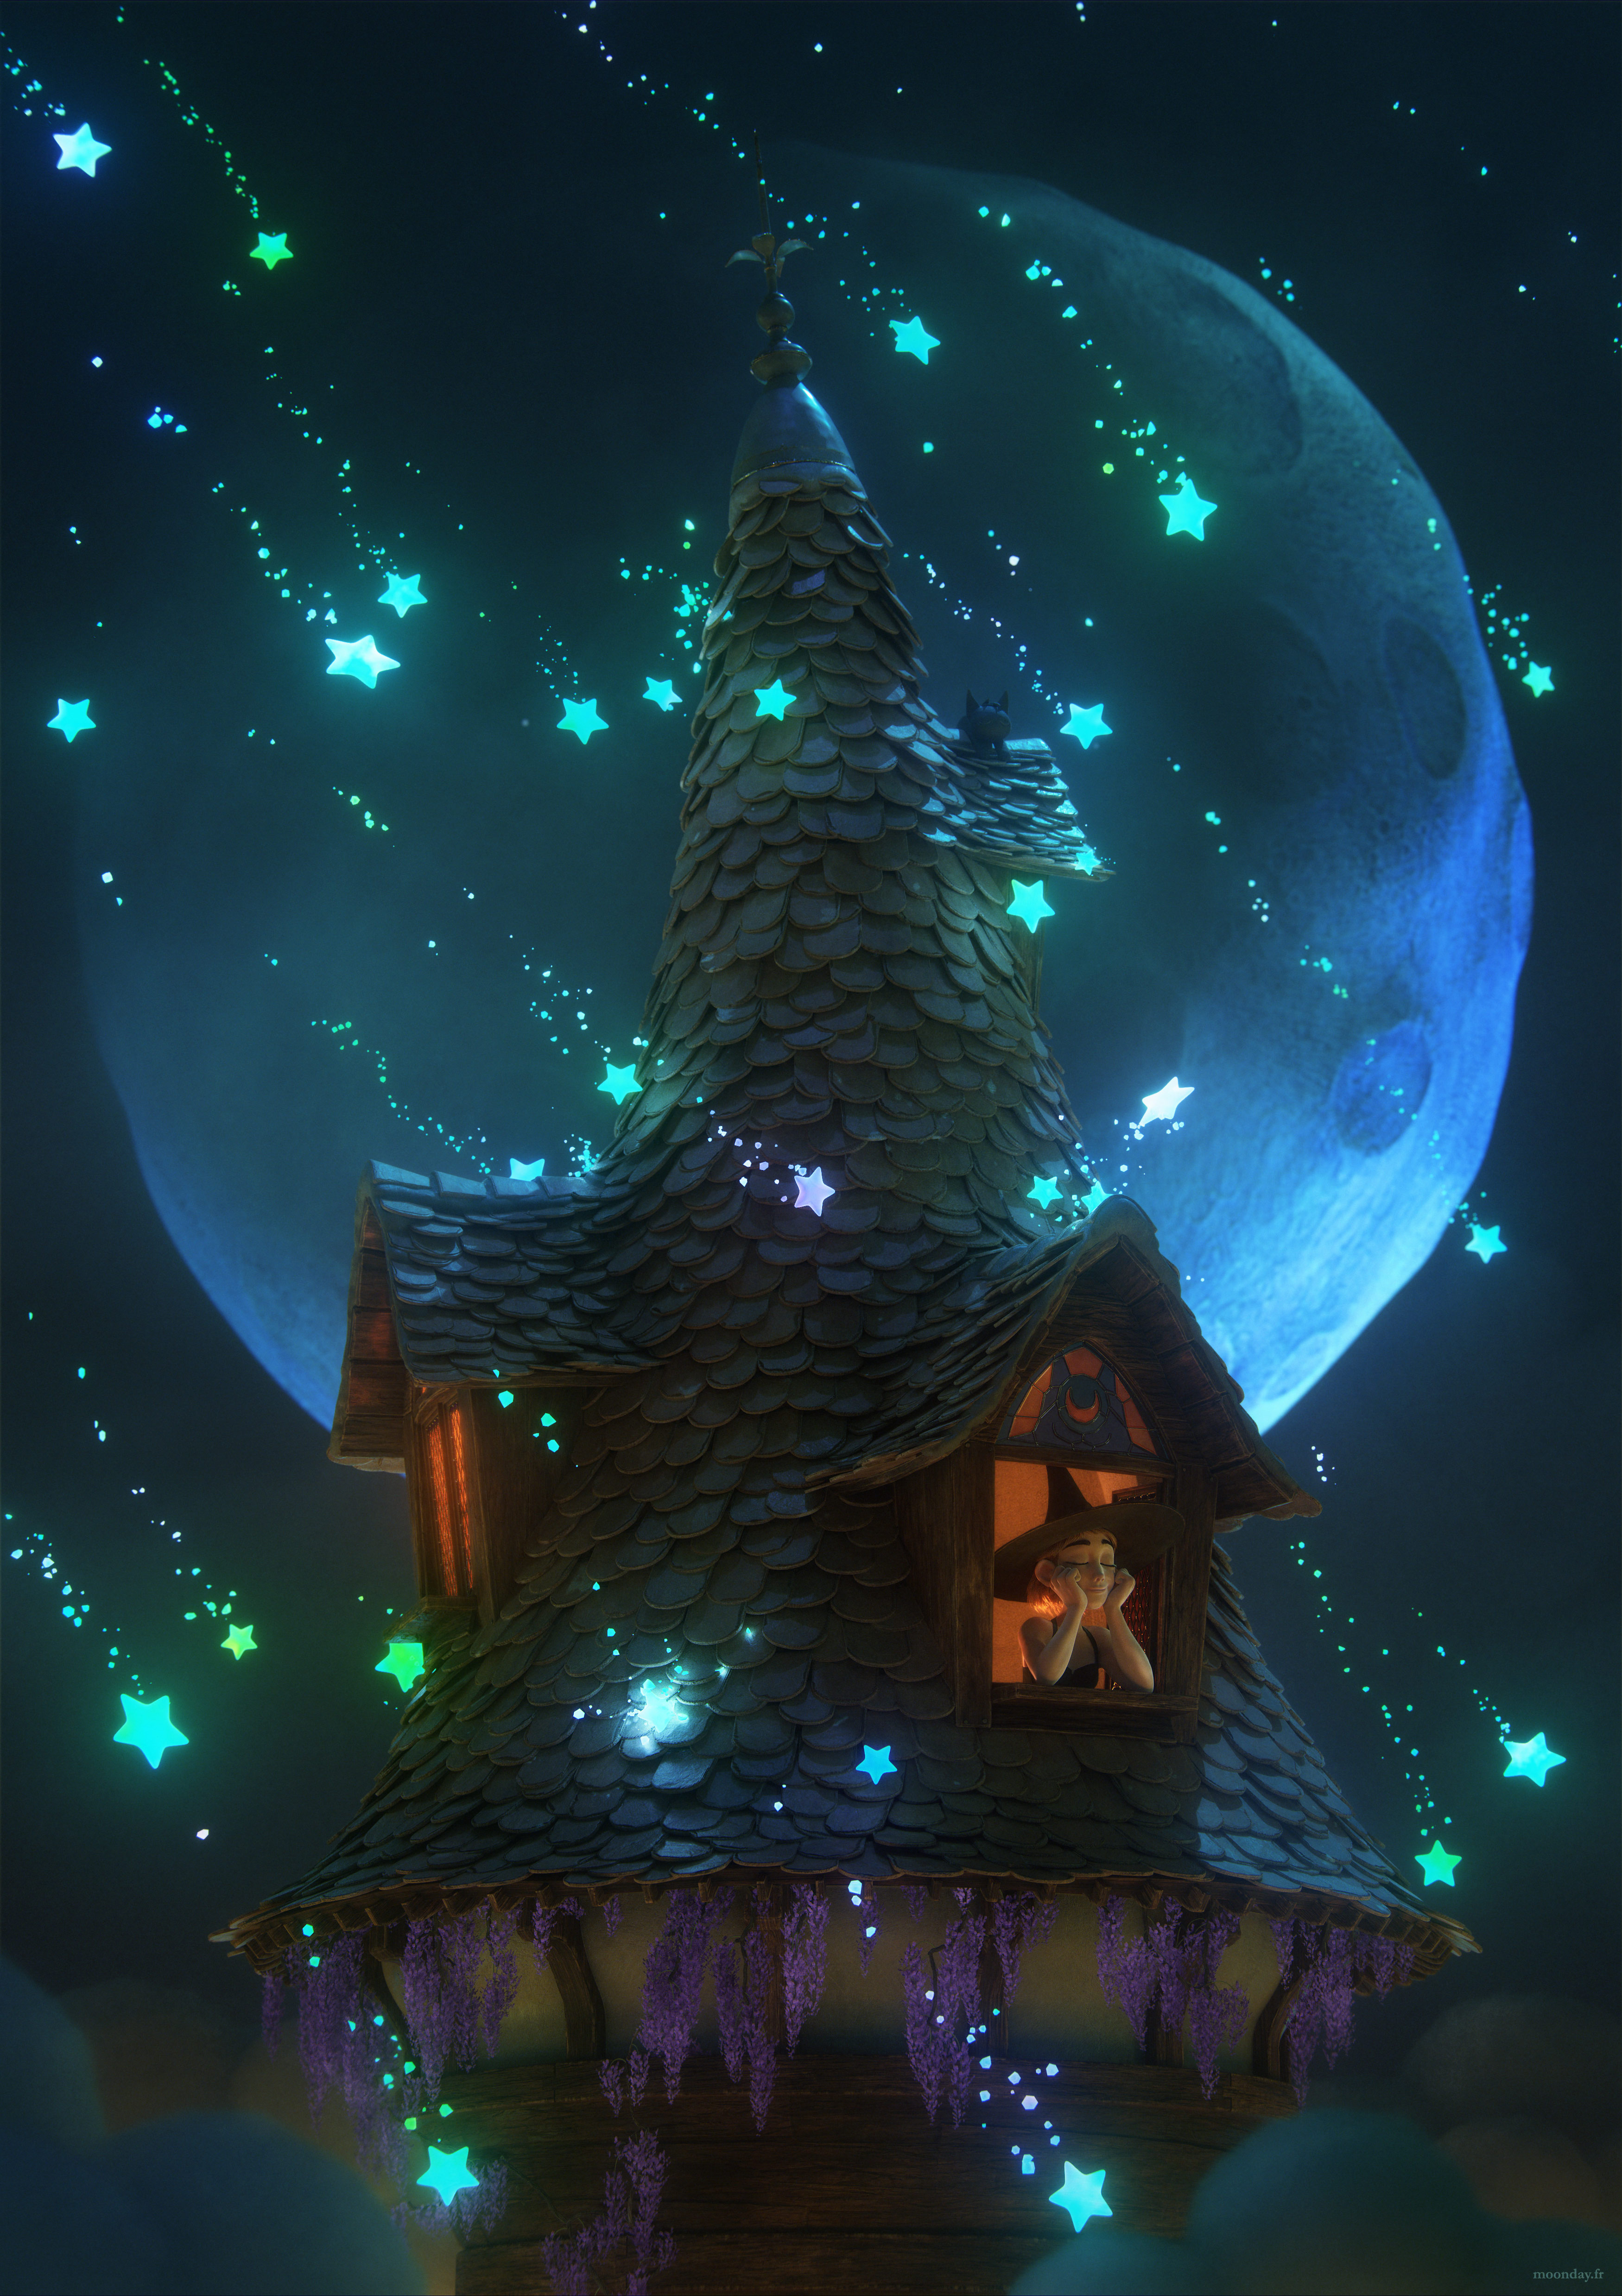
Nocturnal Harmony is an excerpt from one of the animated projects I’m actually working on. The initial idea is to make the design of the Witch and her environment to evolve from one episode to another, depending on the length and mood of the stories told.
That being said, after a long time not producing any original content, I decided to take some times to work on an artwork also inspired by this summer!
Characters
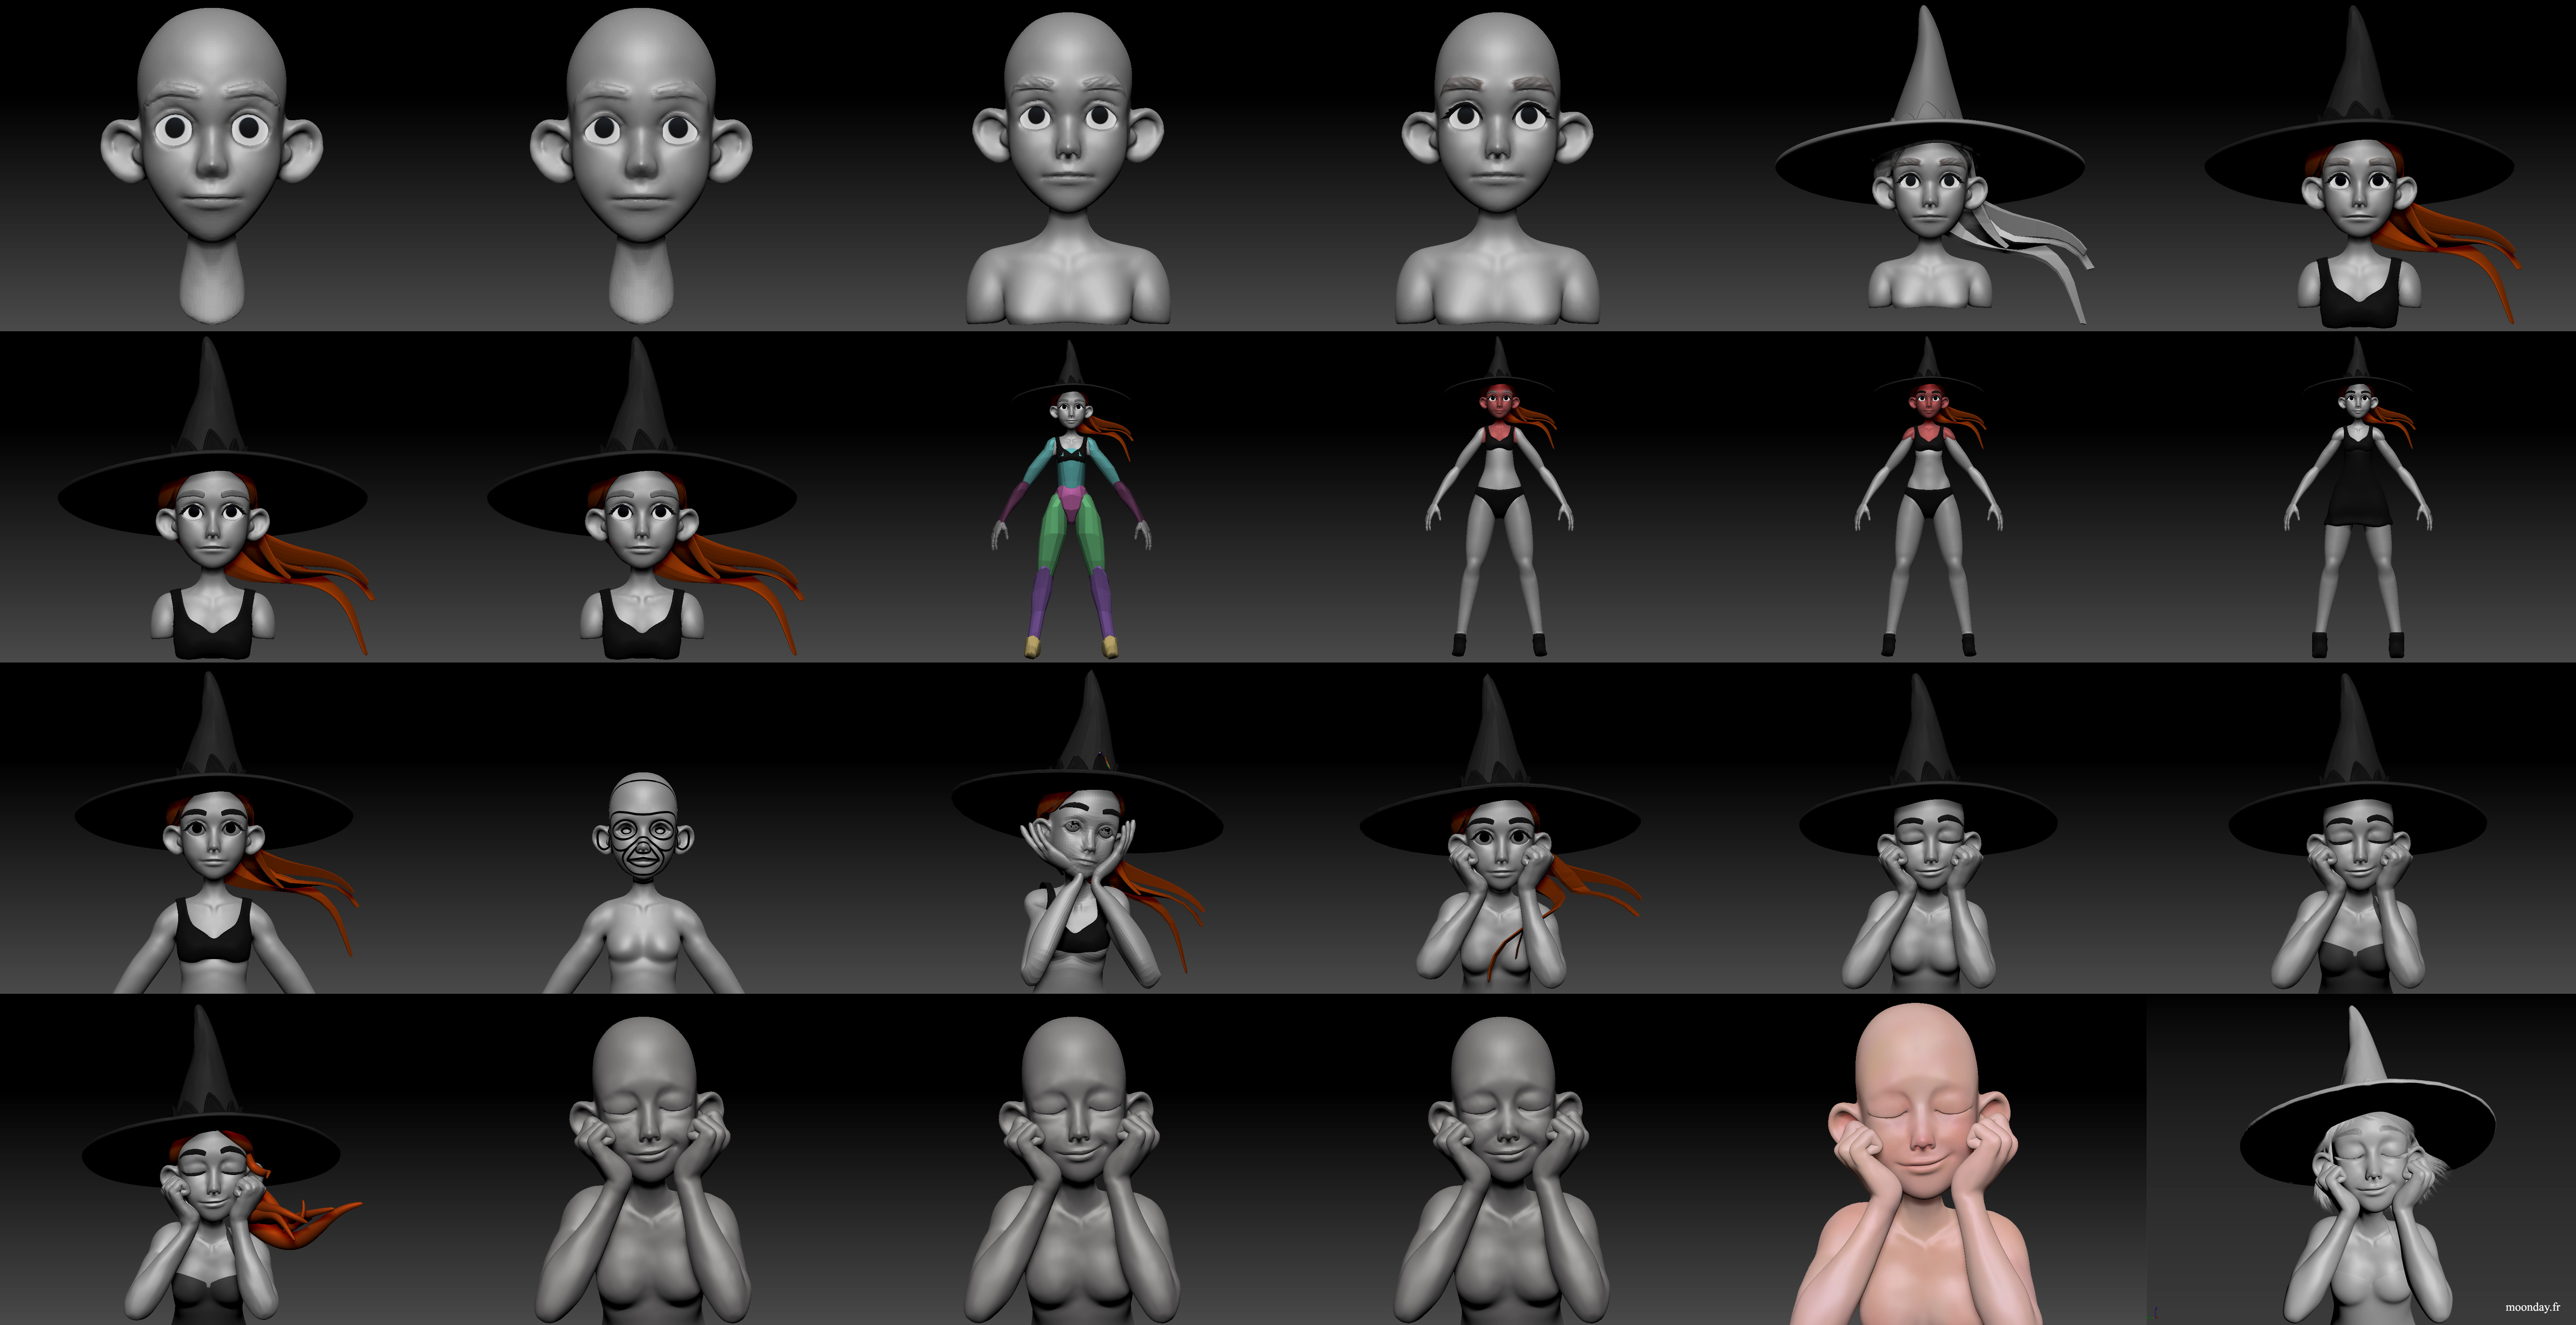
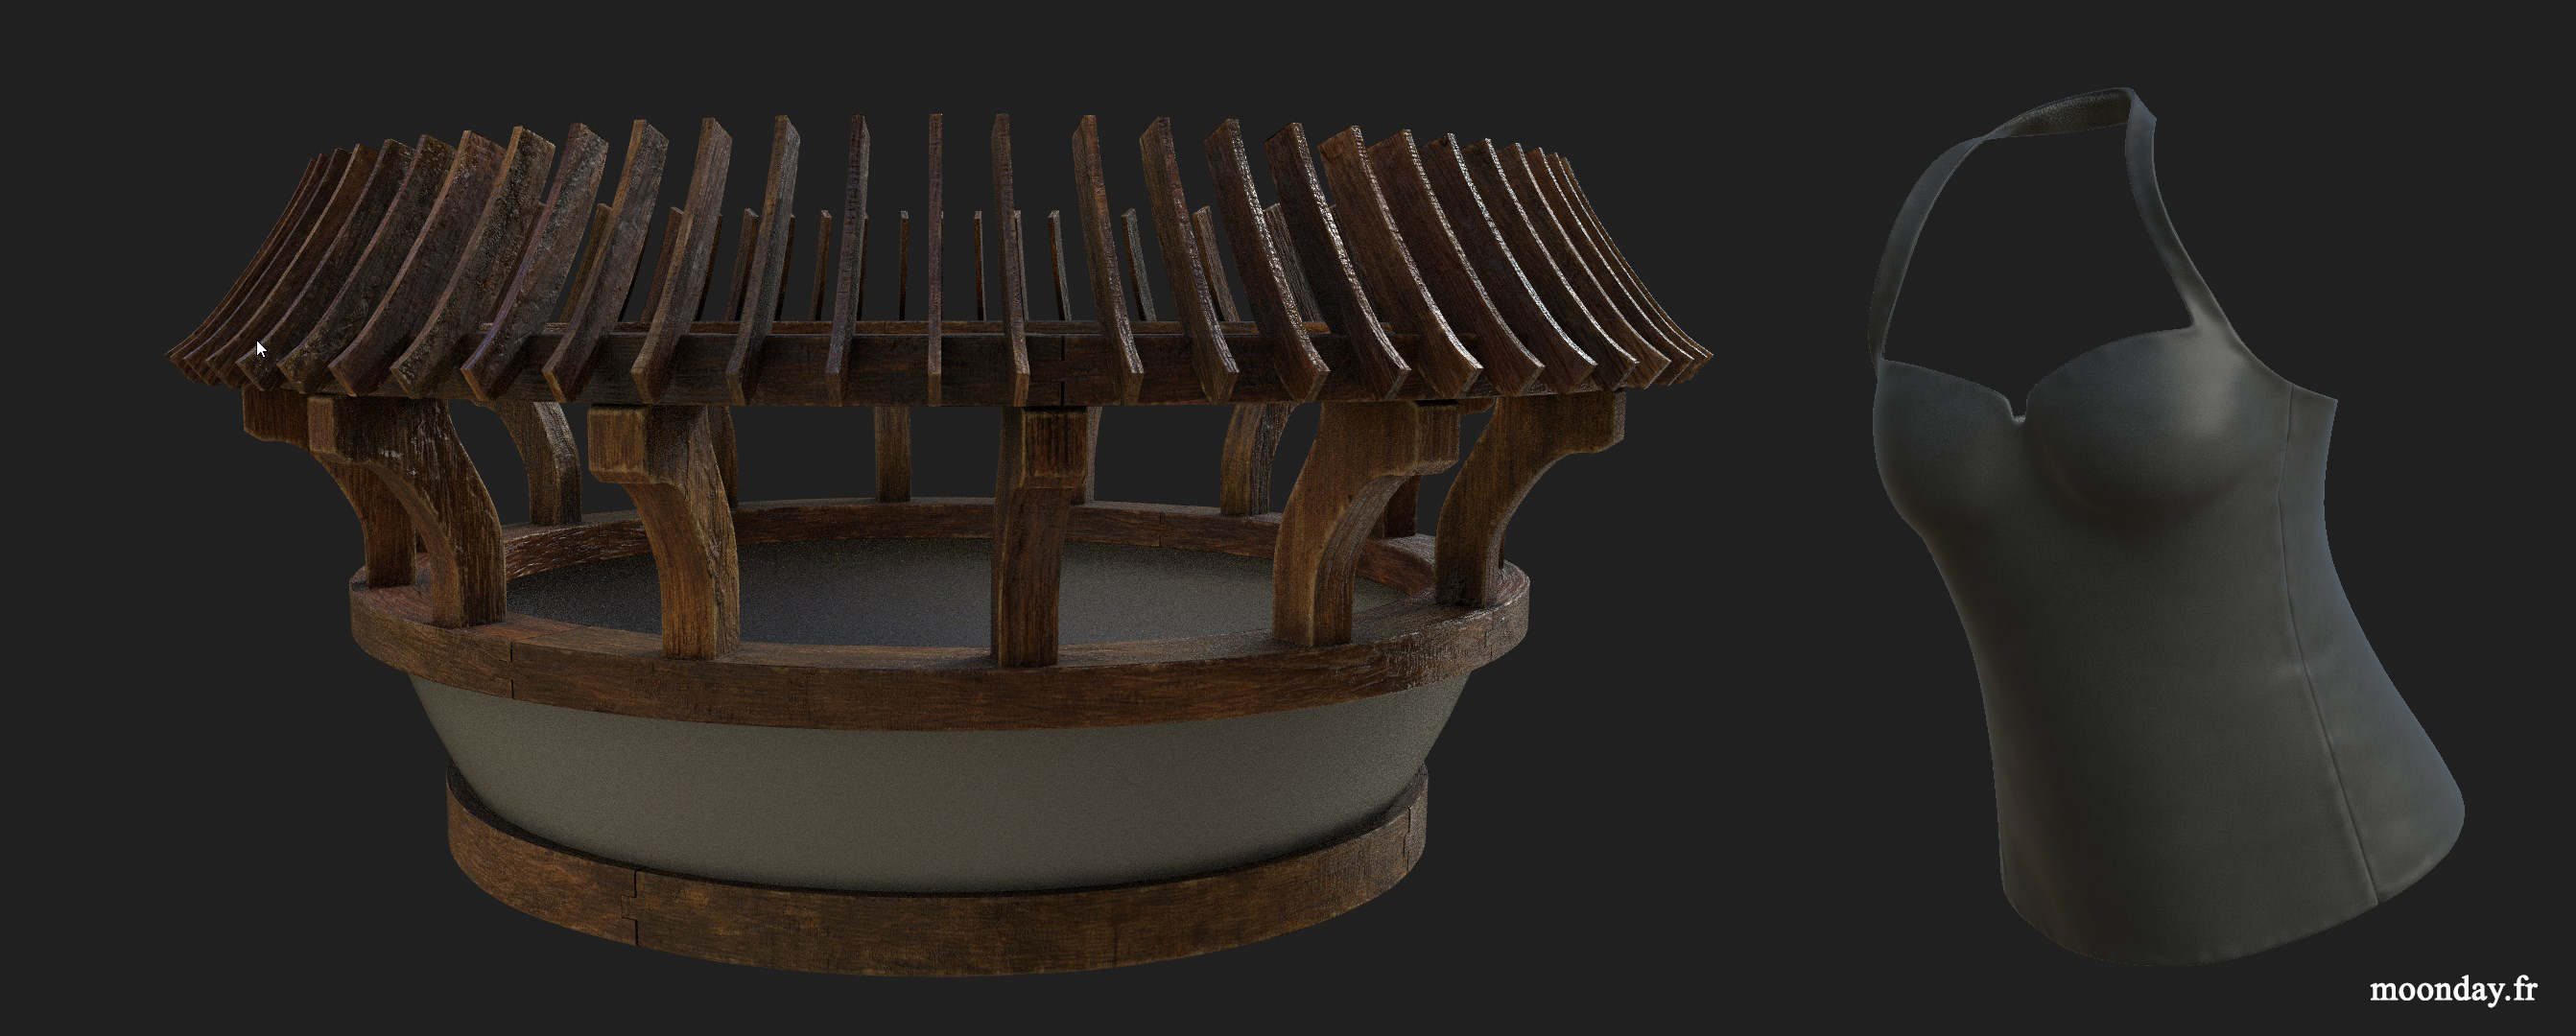
Process from the first draft to the final model

Zbrush skinning
This time again, as in the process of creating Tsuki project, I directly started the modelling of the character in Zbrush, feeling more and more comfortable with the sculpting process from scratch. I wanted the main character to be as stylised as some drawings I could make of her.
After a nearly full body created I focused on the parts that would only be visible in the final render. Adjusting the pose of hands and fingers was the most difficult part of the process, trying to achieve this with skinning in Zbrush using Zspheres, then moving to WrapX (stand-alone version) to wrap my clean topology onto the dynamesh object and finally going in Max to manually adjust fingers with rotating edge loops here and there and adjust the rest in Zbrush again (Thanks GoZ!). Polygroups is a helpful tool to achieve this kind of work.
Animated work in progress
For the first time in a long time, hair process became a tough task. Grooming, styling etc wasn’t so problematic, the issue I encountered was to be able to render my hair using Arnold as Hair Farm is unfortunately still not compatible with Arnold render engine and Hair&Fur (at the time of this project creation using max 2018) had a bug (see my blog post to learn more about it).
Therefore I tried new tools and finally found a mystical way to render my current setup (Hair&fur + Hair Farm) with a sacrifice of long render times.
The many styles a Witch would love to have
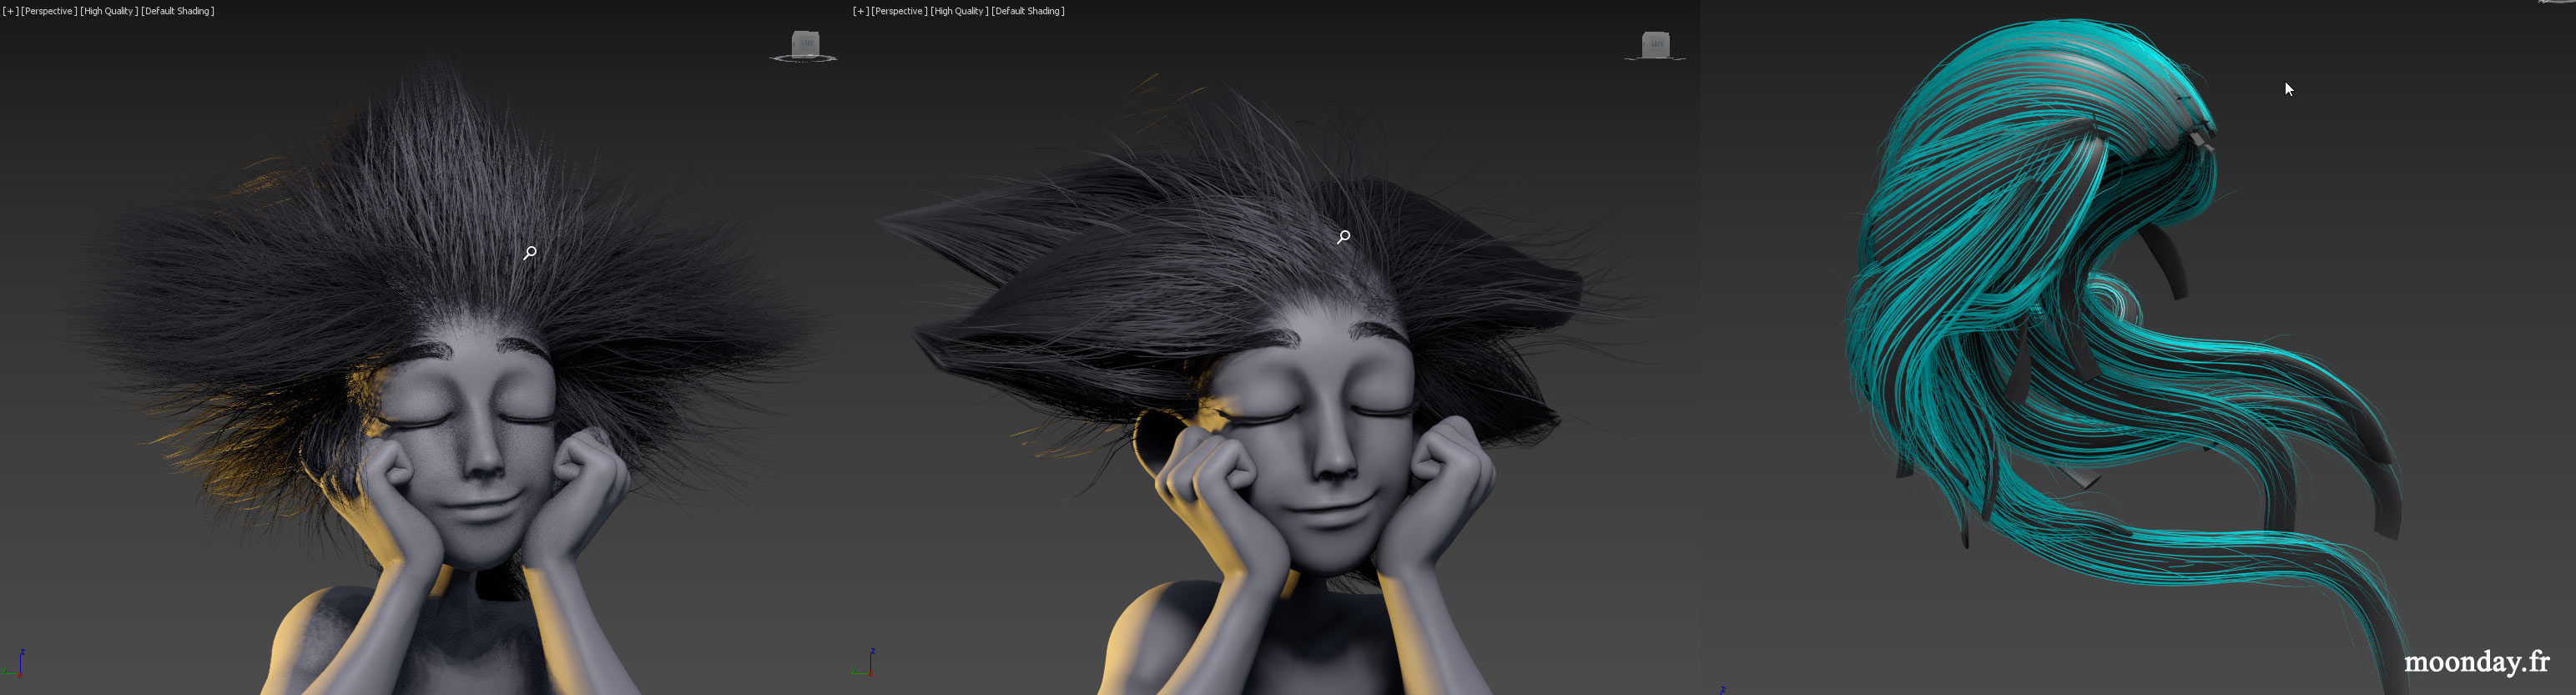
Experimenting Hair styles, on the right: splines used as guides, extracted from Zbrush stripes
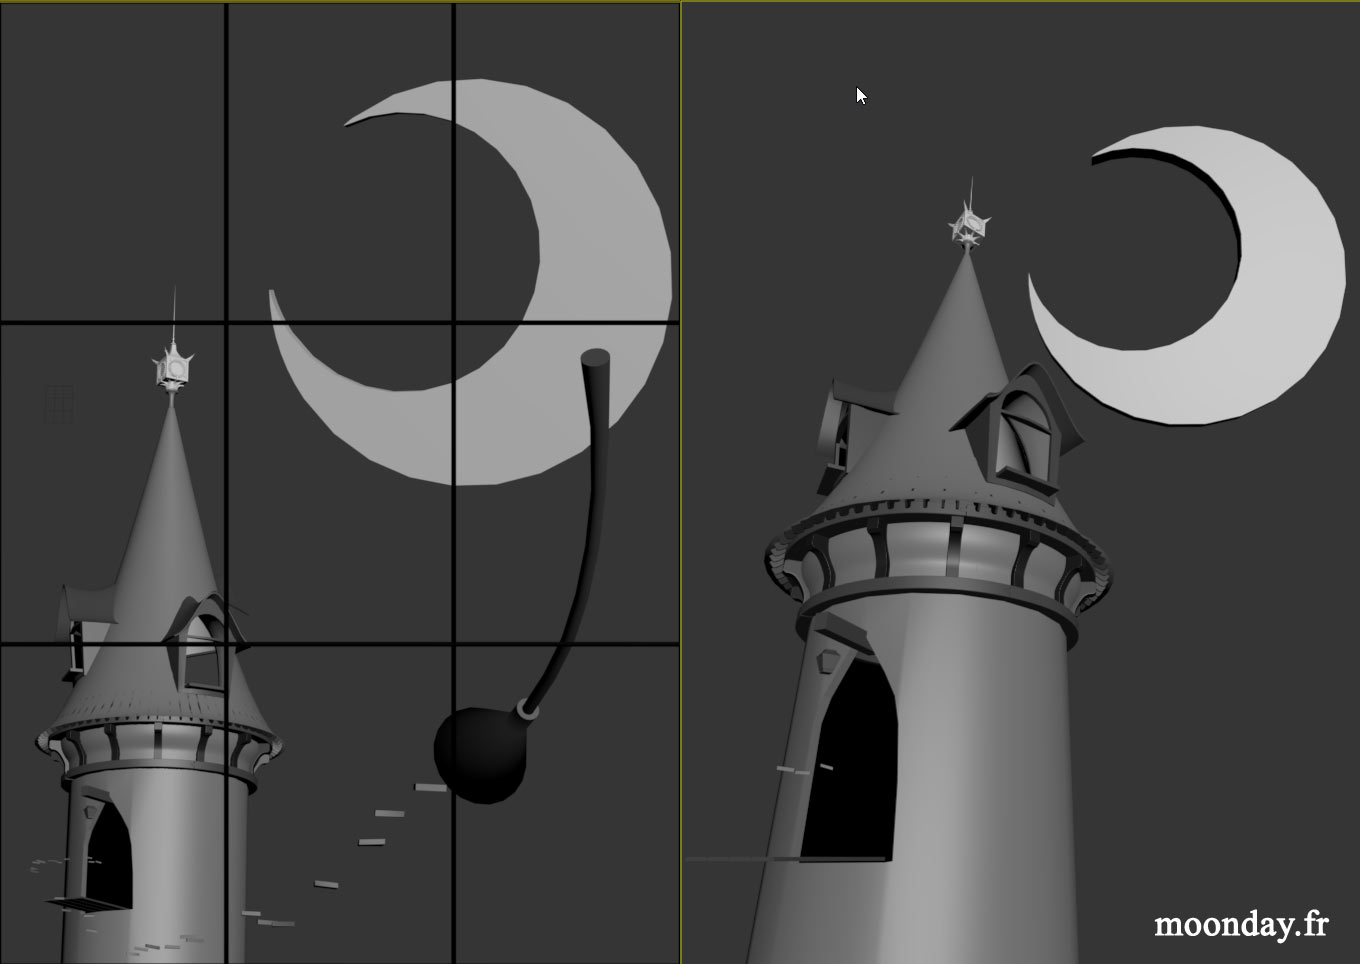
Environment
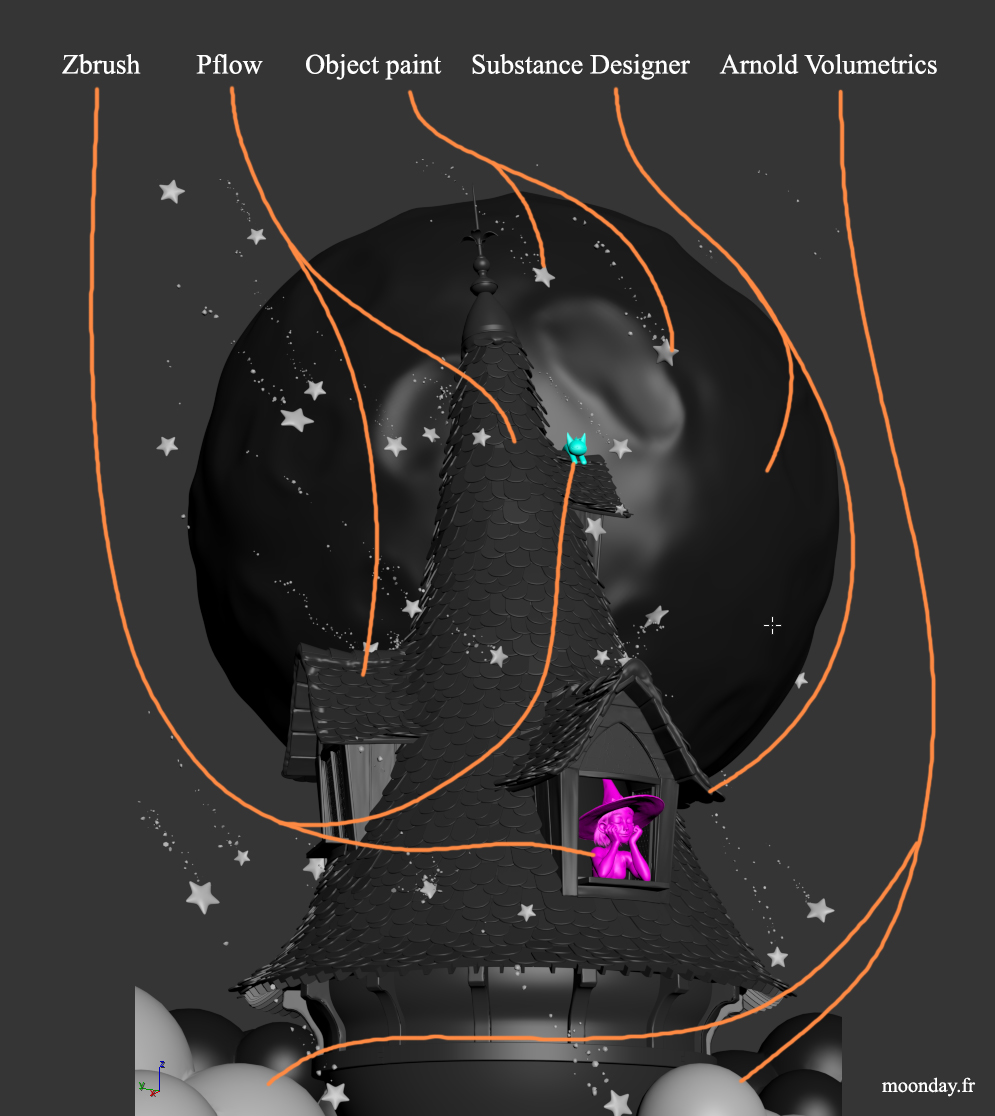
With the main character created I could move on the environment details creation. This was achieved in Max and Substance tools:
- Pflow to scatter the roof tiles, then adjusted them by hand when there was some interpenetration mistakes.
- Object Paint to draw stars trajectories in the sky
- Designer to generate procedural normal and displacement maps on the materials
- Arnold for creating fluffy cloud balls
- Grow FX to add Wisteria under the roof
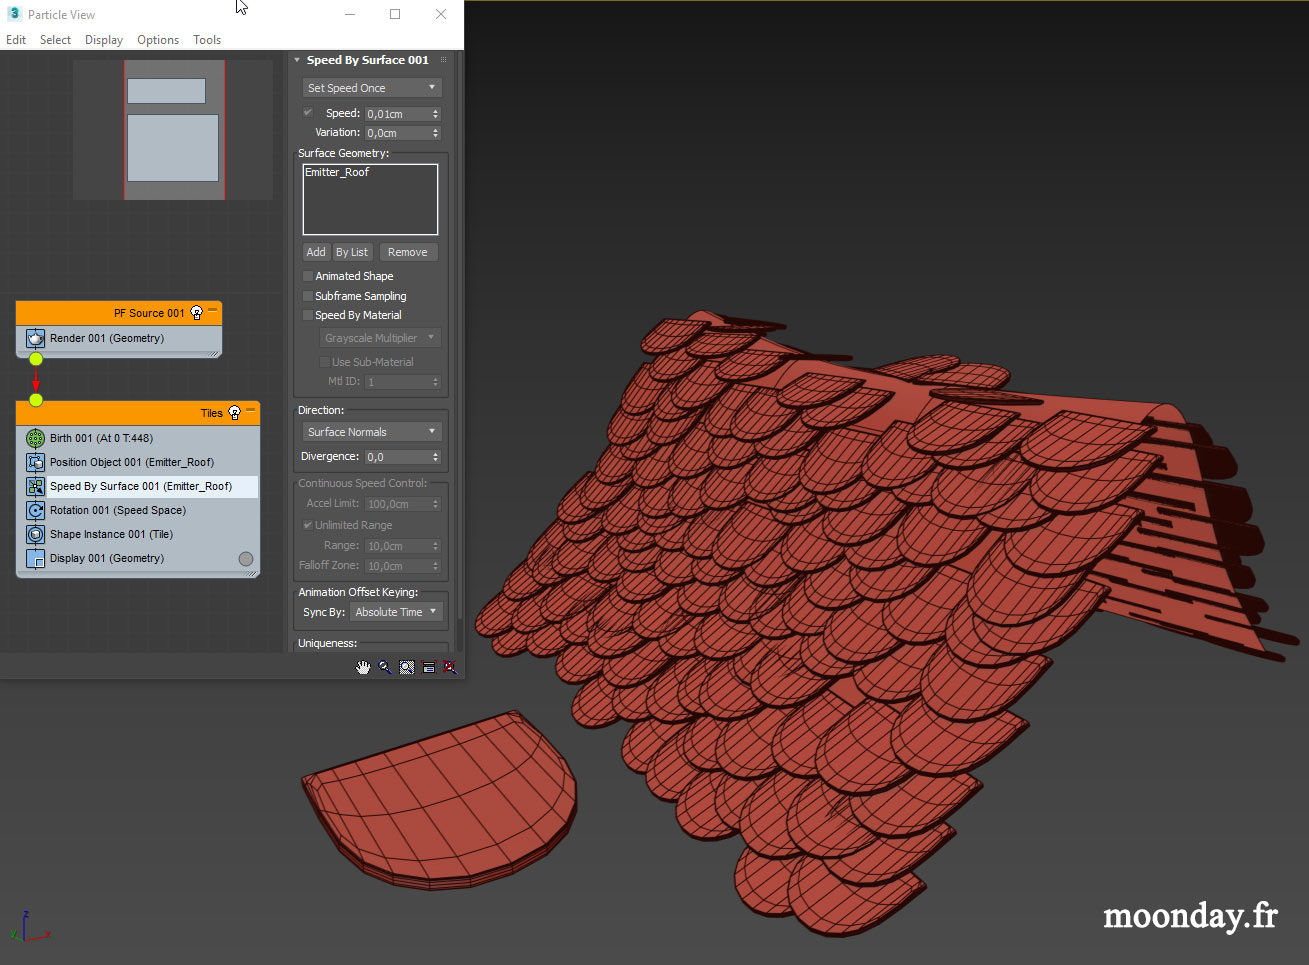
Tiles Pflow scattering using geometry surface as orientation

Growing Wisteria with GrowFX using object reaction
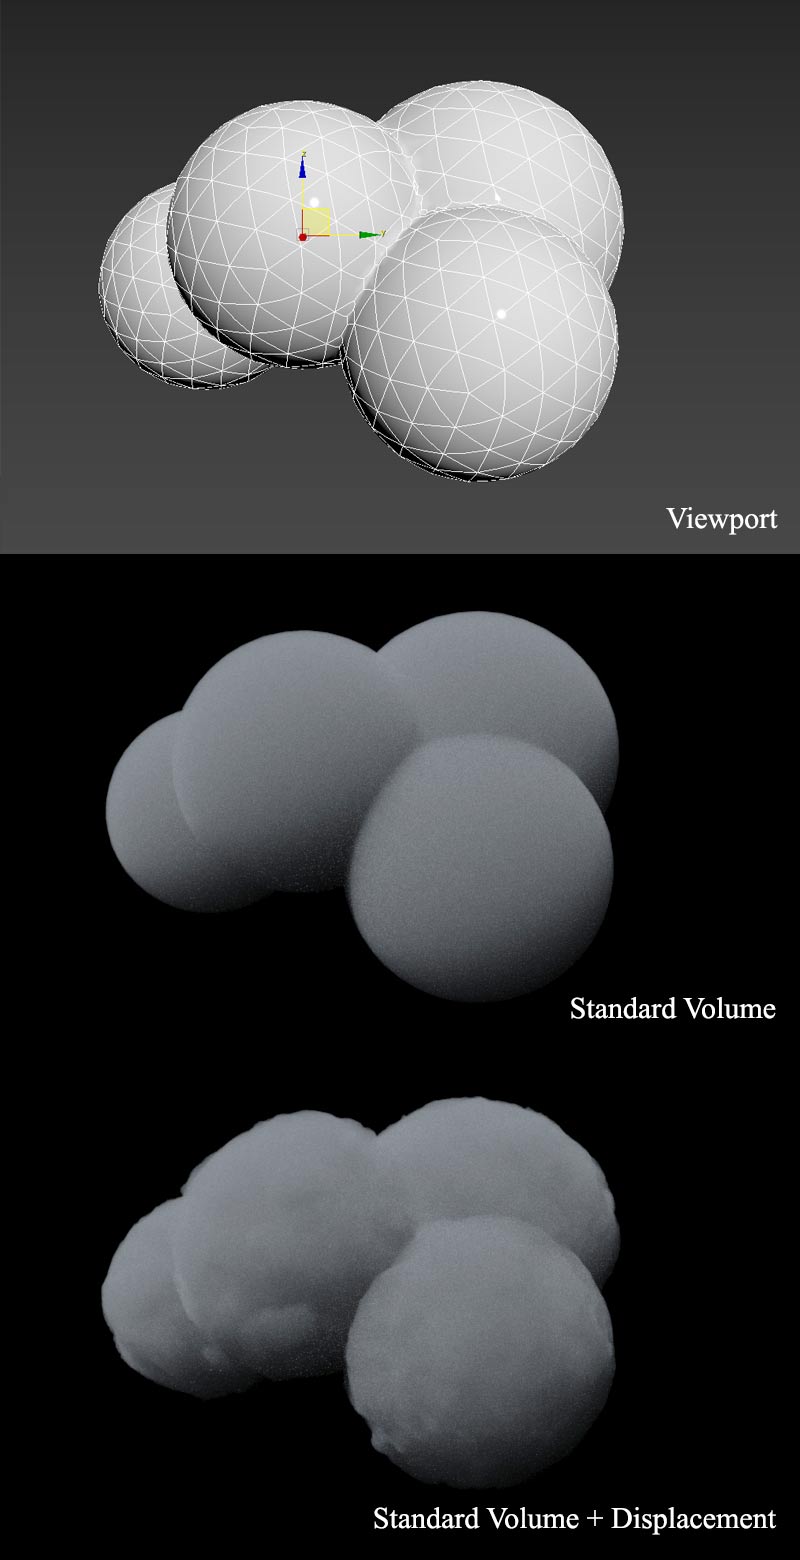
Arnold volume shader
Object paint to create stars trails
Adjusting branches length to influence birth of Wisteria flowers
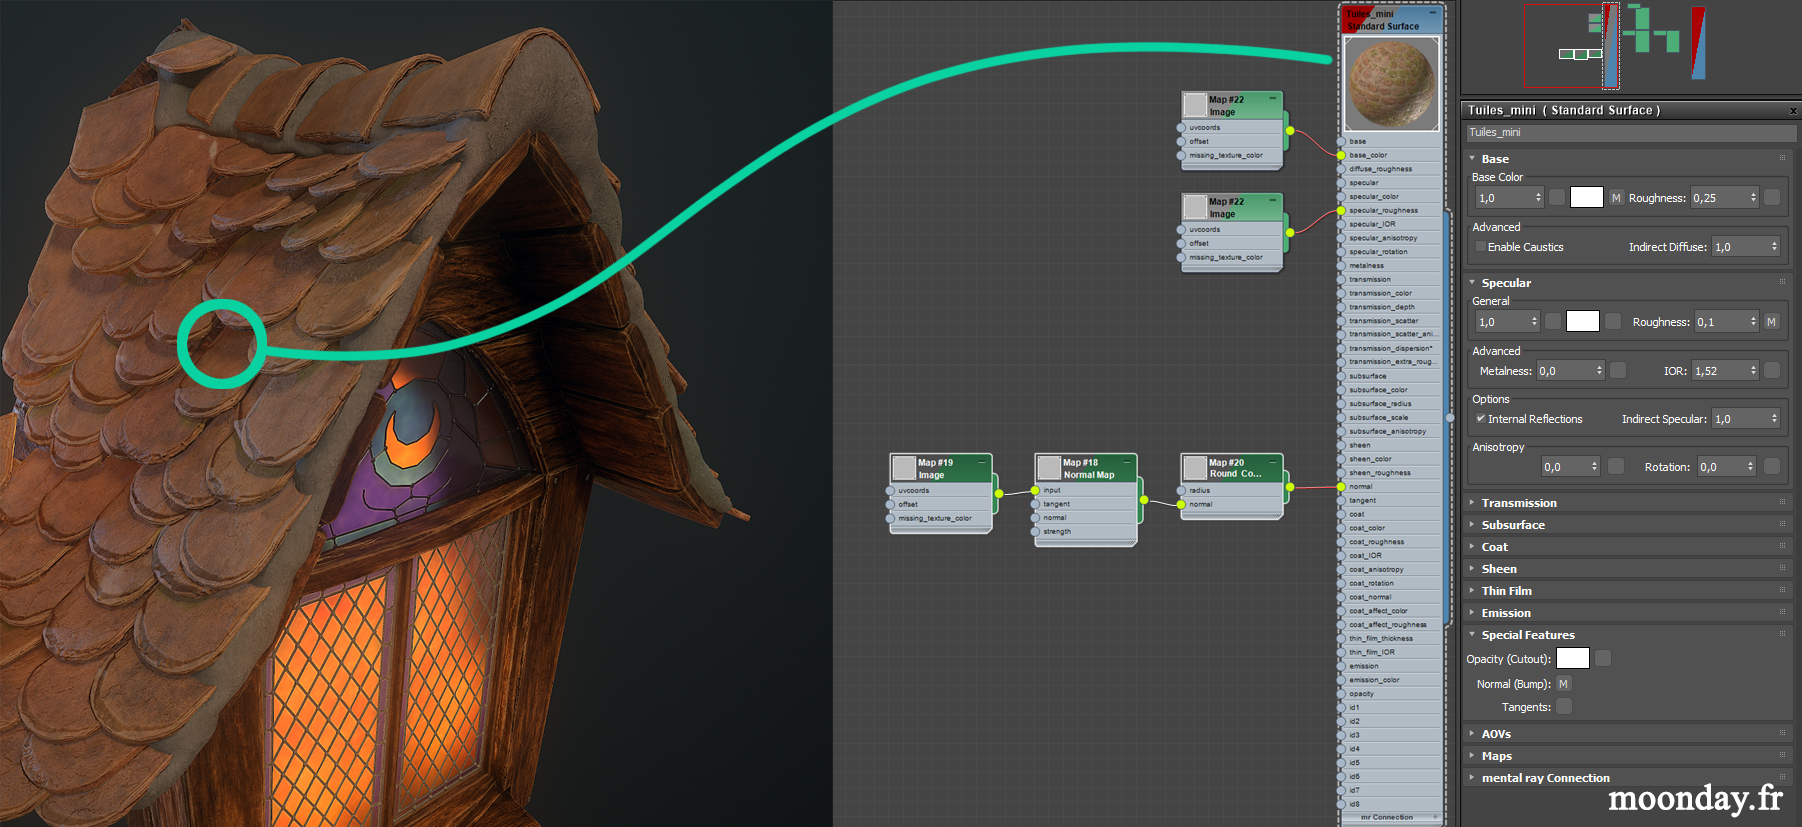
Texturing
Working on non real-time projects feels good, you don’t have to worry too much about the poly count, UV optimisation and texture resolutions. This part of the process, after working for some years with Substance Designer, was the most easiest and pleasant one, it really gave life to my models.
Wood and dress textures preview
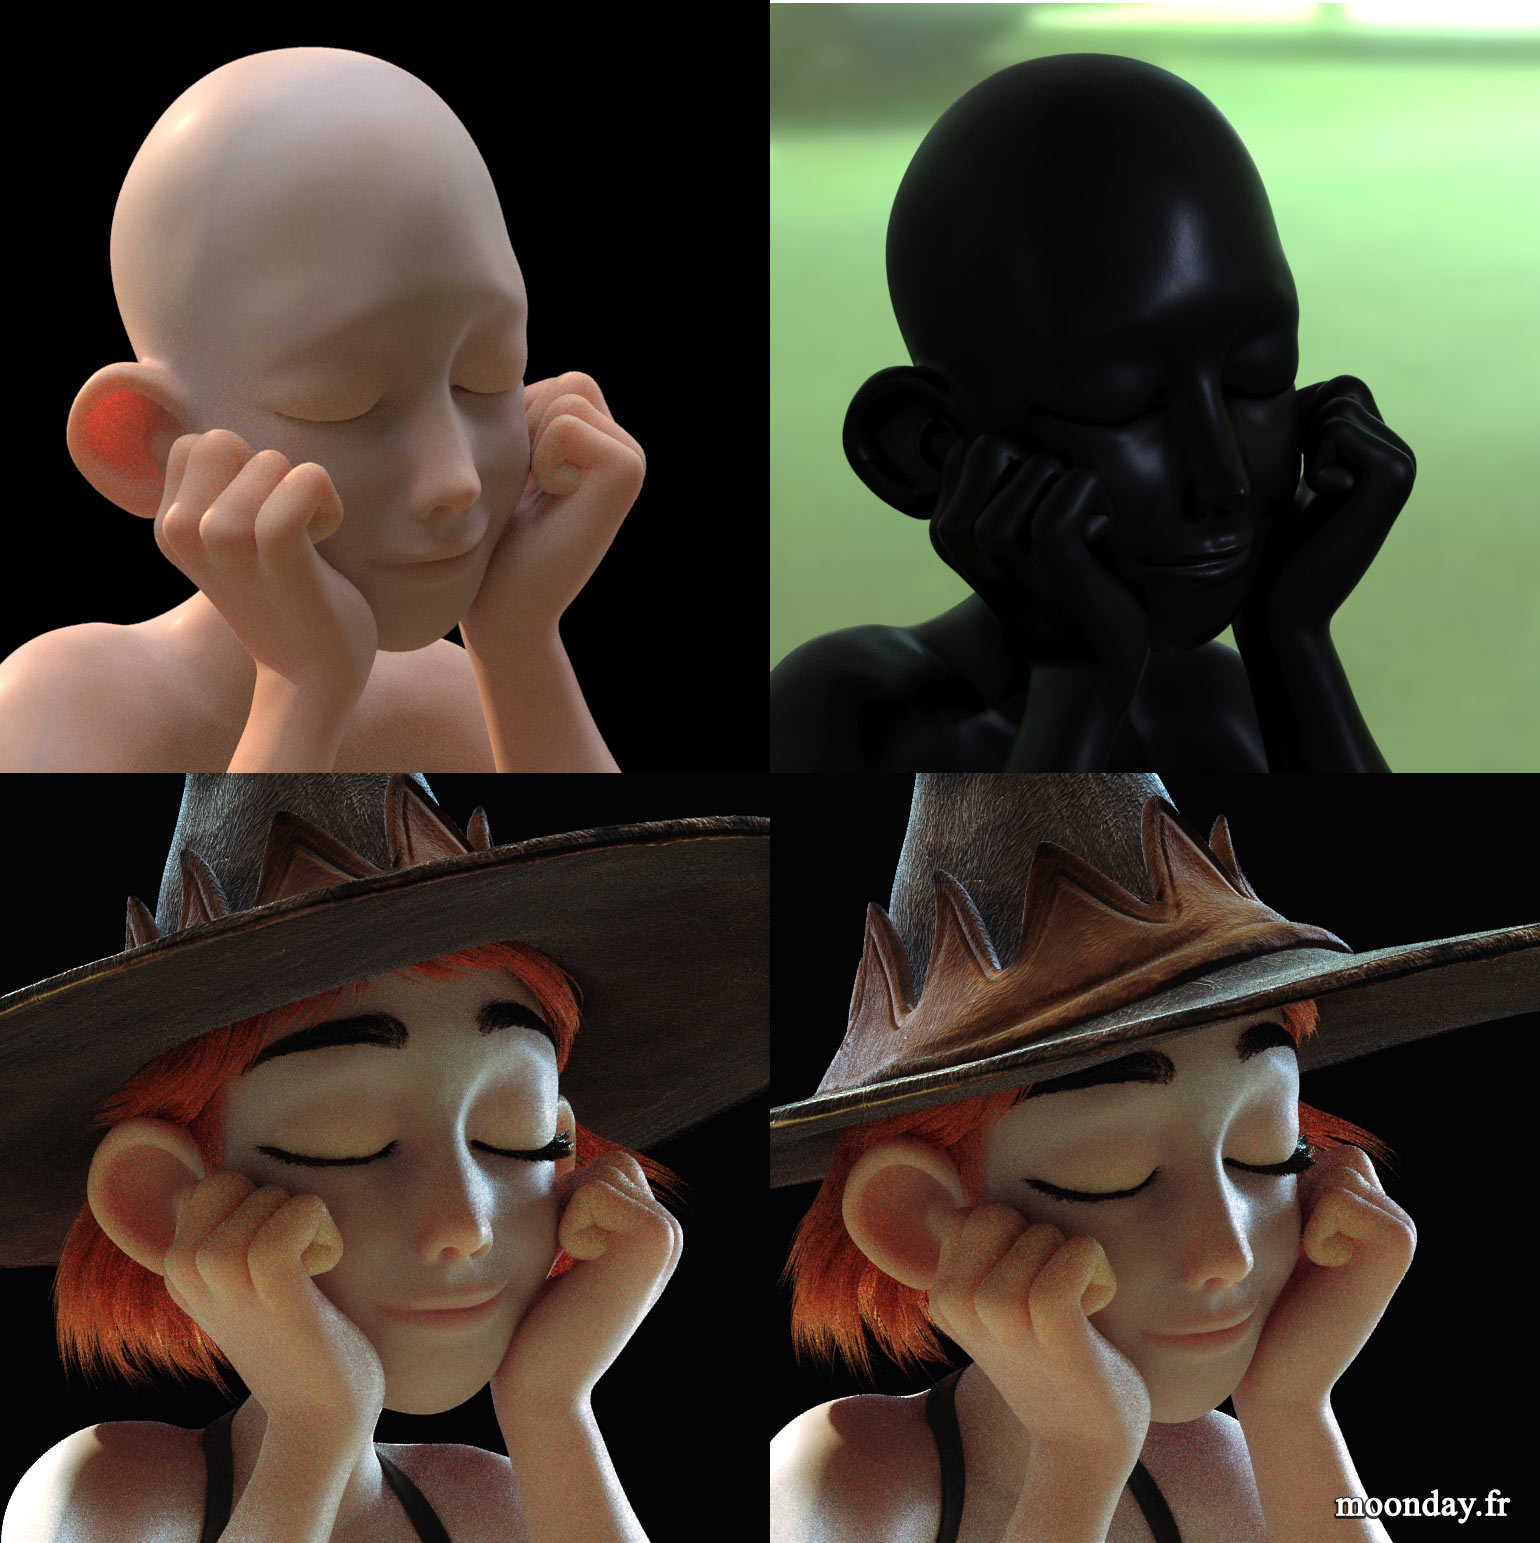
I must admit SSS was oddly more easy to produce in Arnold than in Mental Ray. My limited knowledge in Arnold shaders at the moment makes me feel it lacks controls of subdermal et epidermal layers.
I found it easier to paint the overall skin colour variations, roughness and specular maps with Polypaint in Zbrush despite the fact Zbrush lacks a solid texturing layers system.
A brief word about shaders: All the elements of the scene, except Hair parts, used Arnold Standard surface shader. A few models had Sheen option activated like the cloth parts. When displacement was needed, an Arnold properties modifier was added on the concerned meshes with subdivision activated.
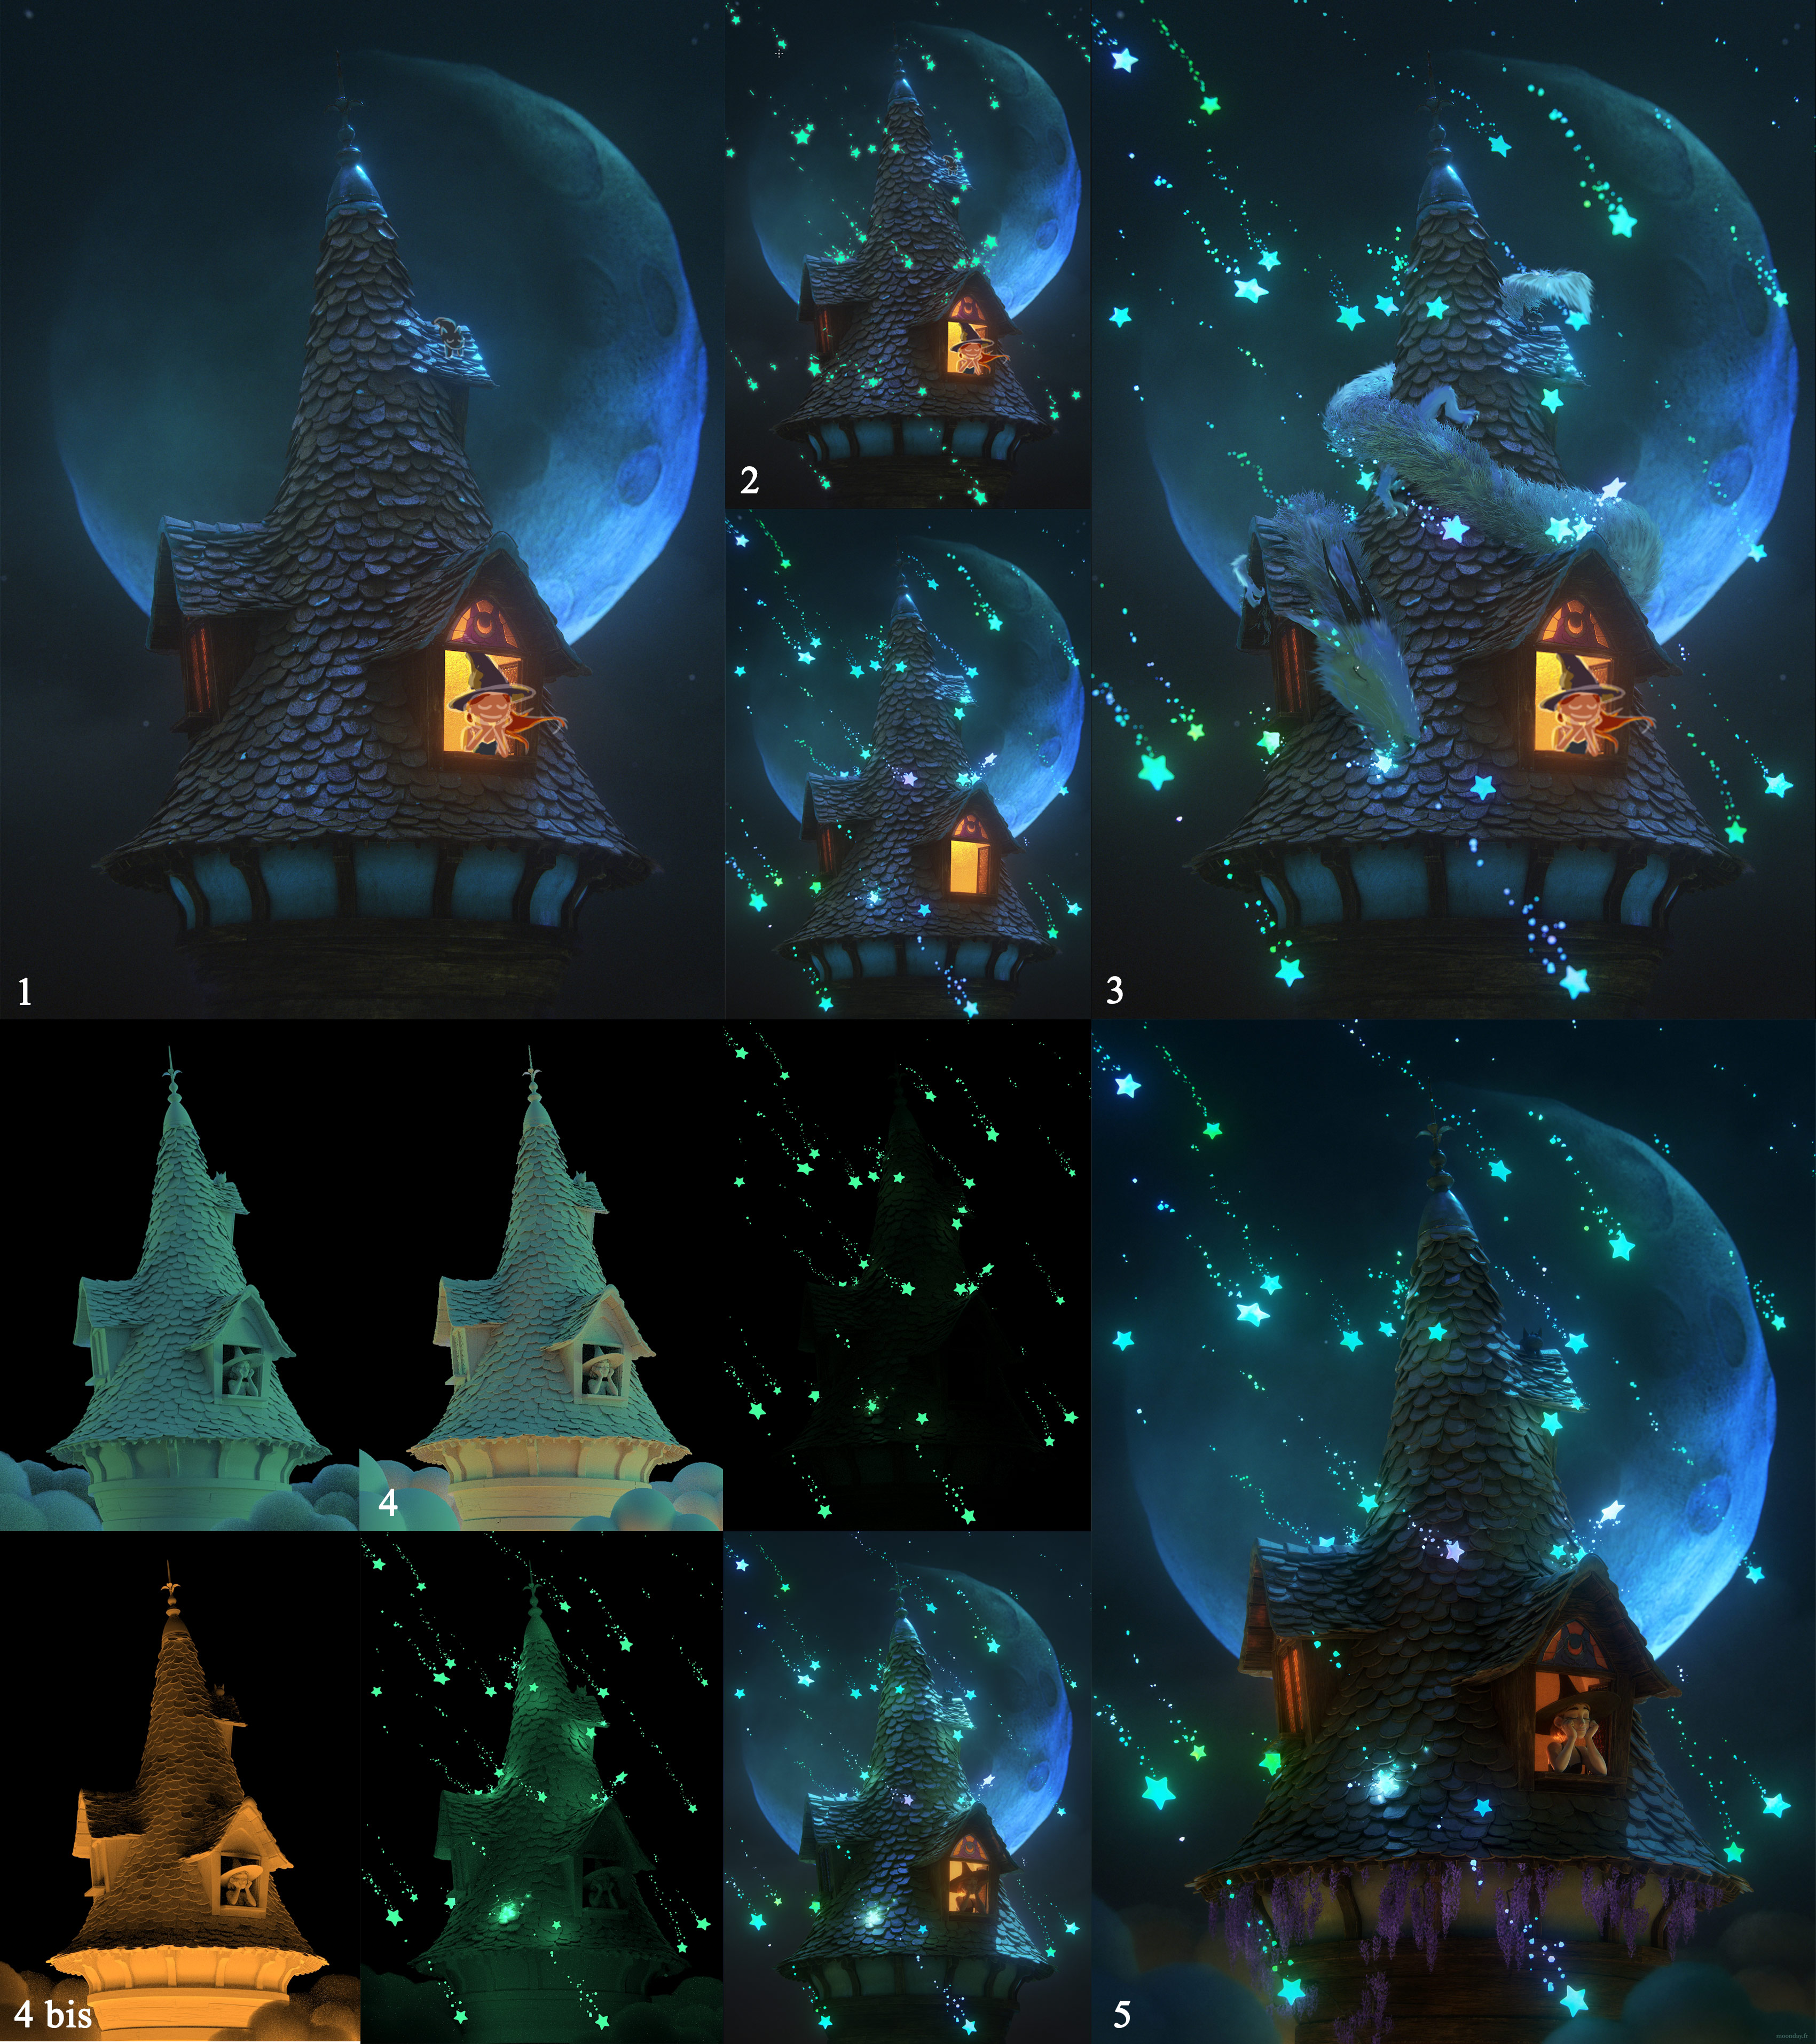
Compositing
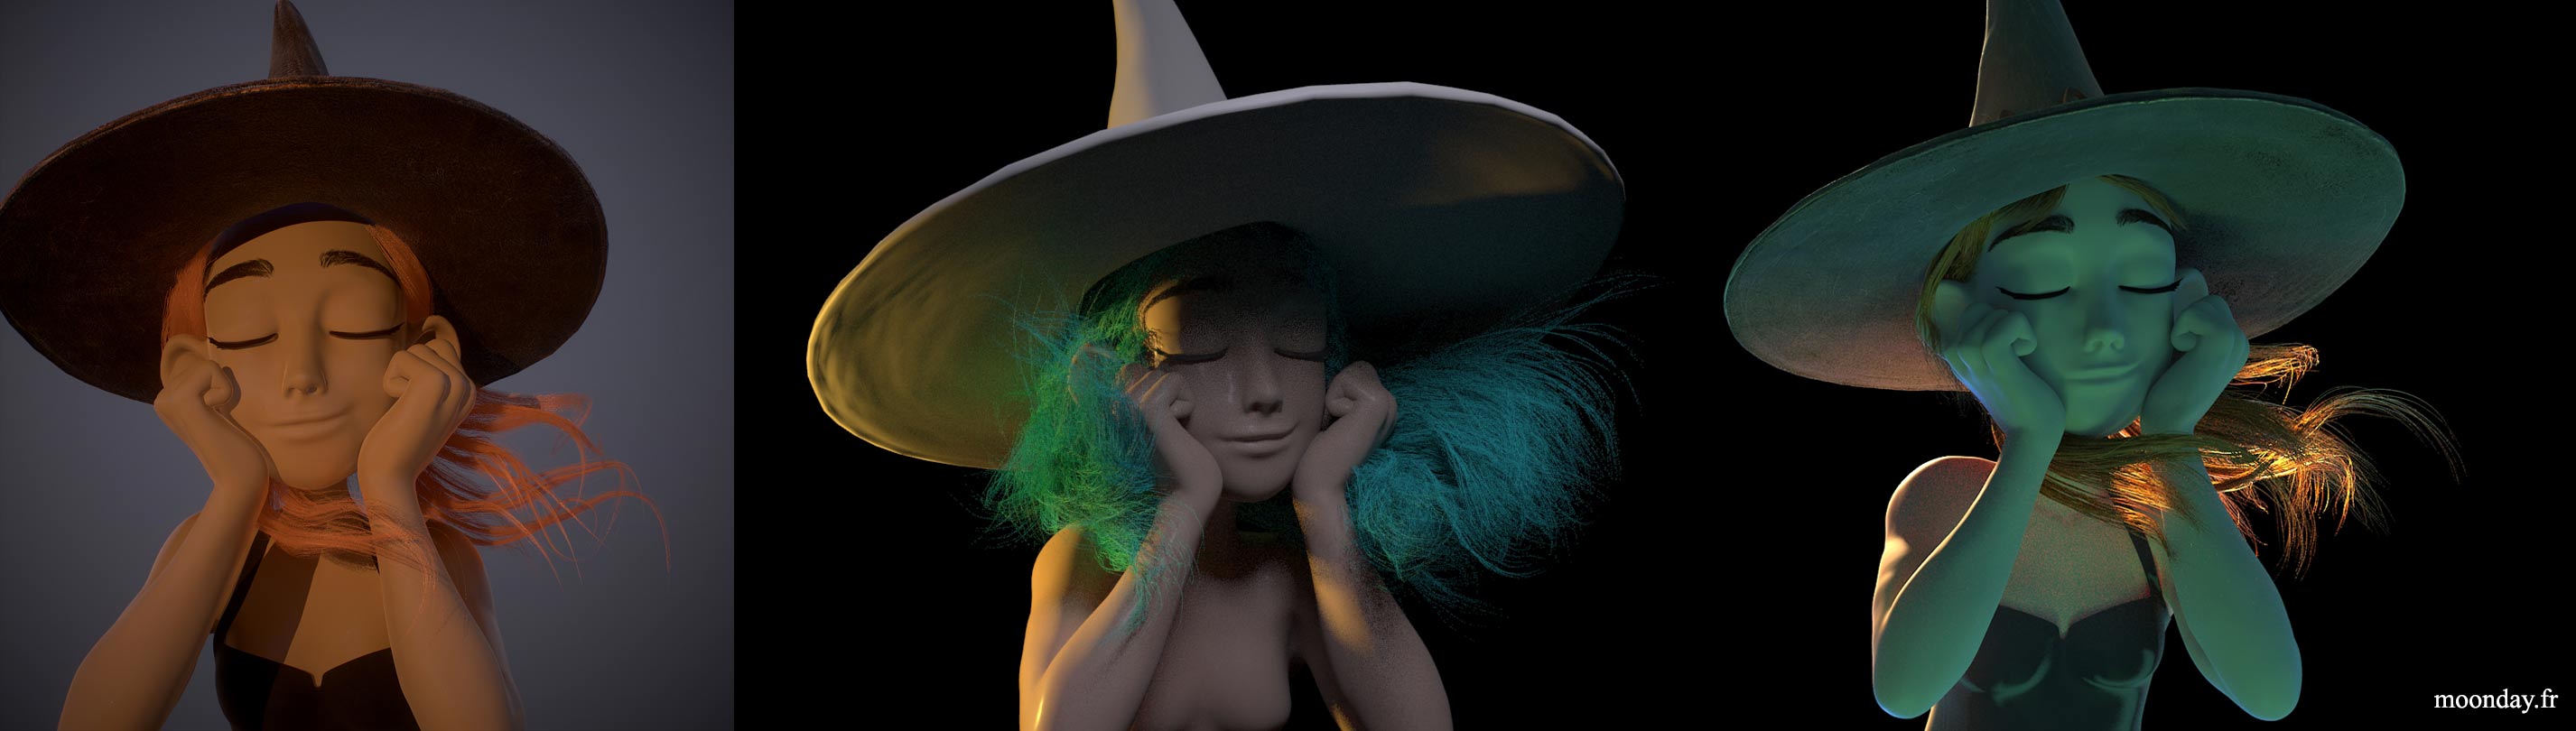
Even if I had a strong idea of the composition of the final scene in mind, based on my drawing, I experimented different angles, each telling a different story.
All the elements created for the artwork, it was time to try many colour combination on the different models to set the correct mood.
the top left corner image shows how the initial idea looked like but I felt something was missing. After a few drawings and a little story arc put on paper I decided to include falling stars and lights coming from an eventual town from above the tower. Even a third character appeared in a temporary version (top right corner), it was finally removed to get a cleaner and readable image.
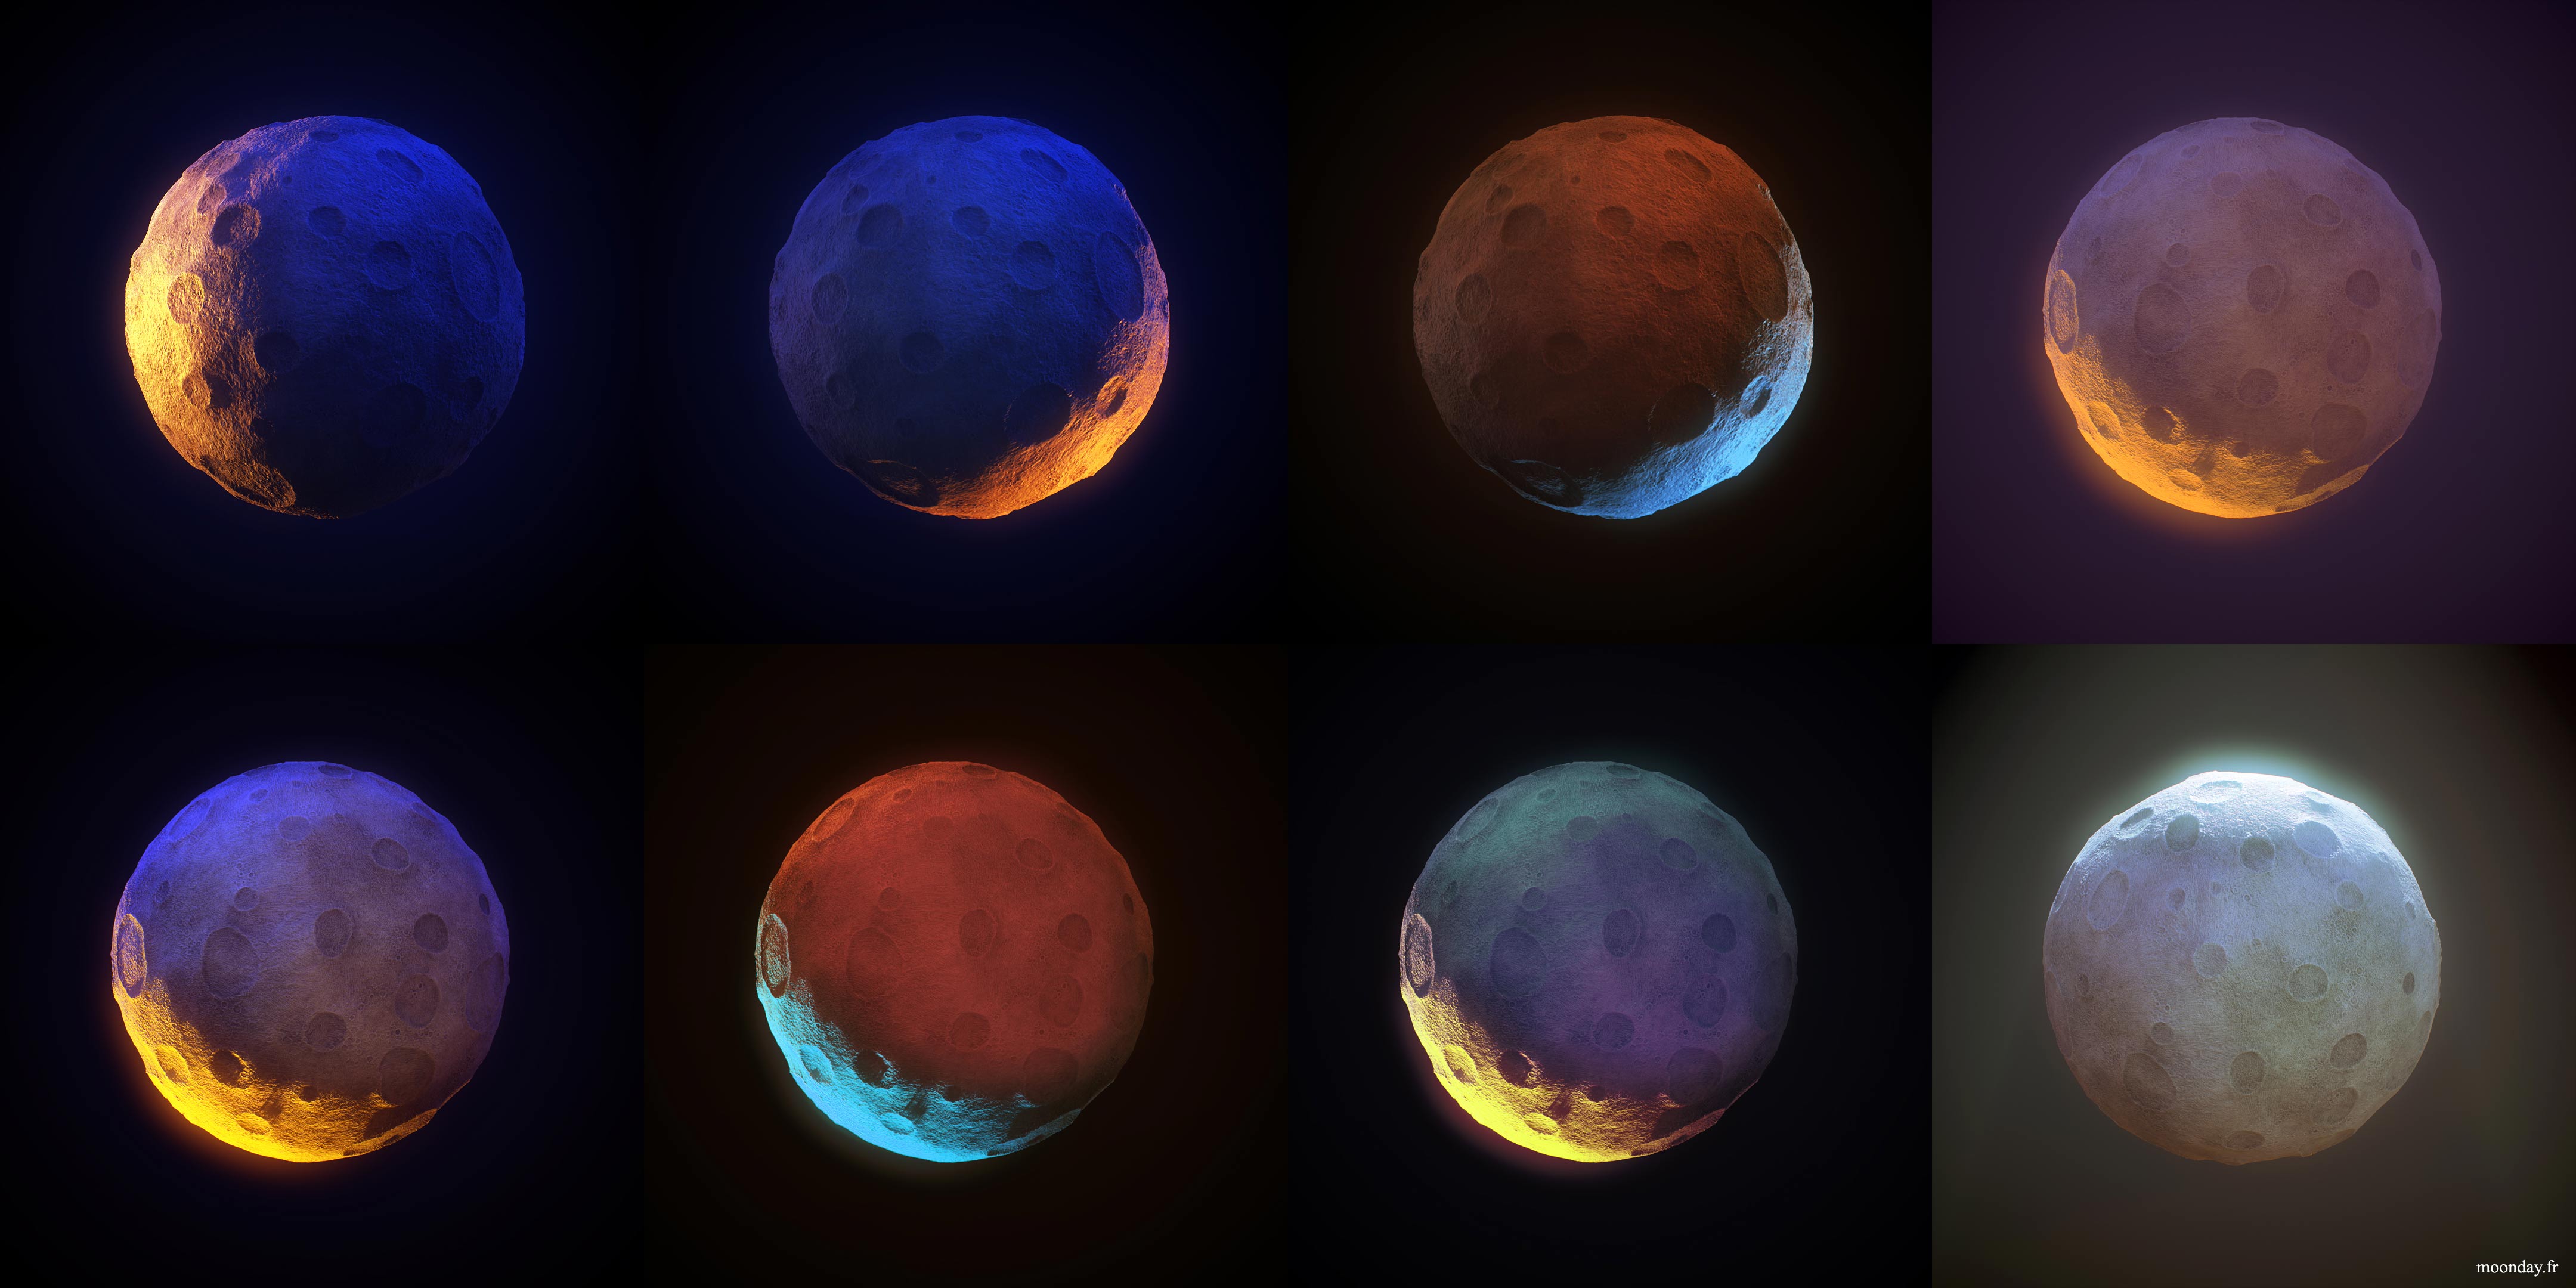
Fifty shades of Moon
Conclusion
I hope you enjoyed reading the making of this artwork. Here are the final artwork, a real time preview of the Cat lying on the roof and a video including all the animations from this article.
See you soon!
Please click on the image to view it at full resolution.